Affogato Sundaes

August 23rd, 2013

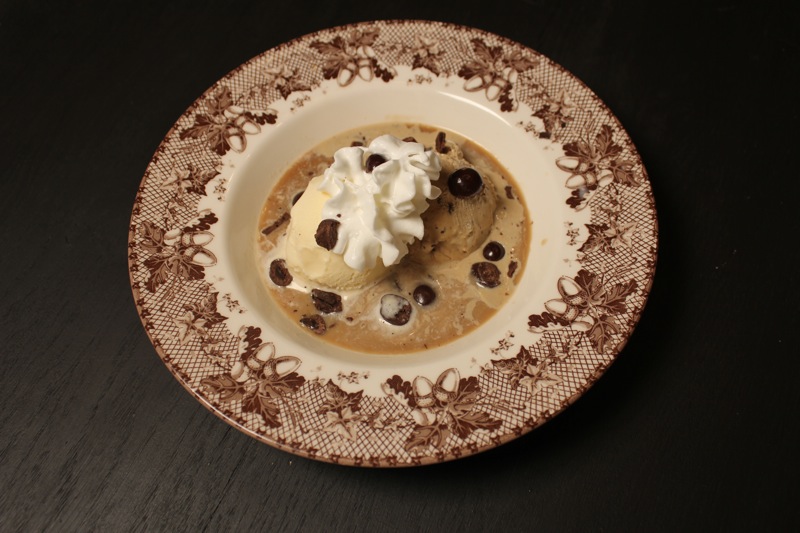
This is such an easy dessert to serve when you are entertaining.  I knew it would also be delicious because it is an Ina Garten recipe.  Affogato means drowned in Italian and affogatos are espresso coffee based drinks with the addition of vanilla gelato or ice cream.  The espresso partially melts the ice cream.  But leave it to the Barefoot Contessa to turn this Italian drink into a full blown dessert.

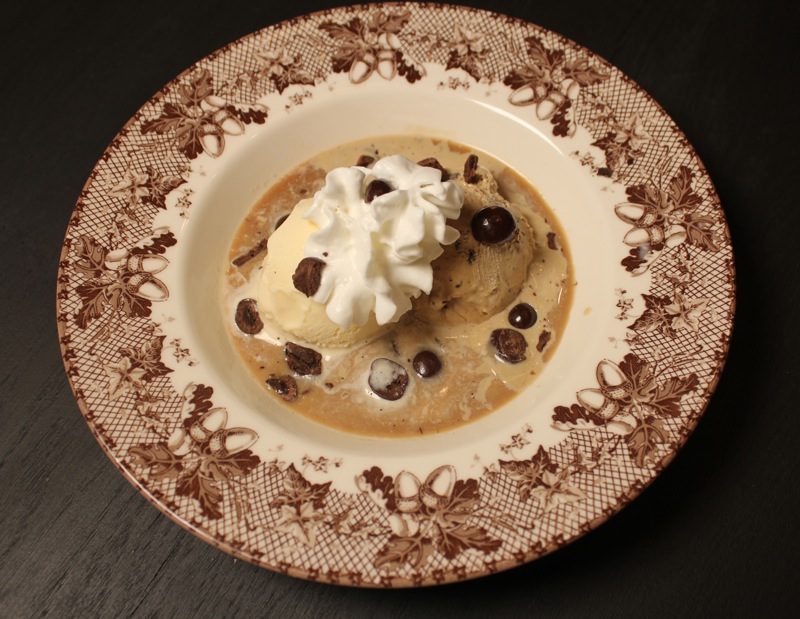
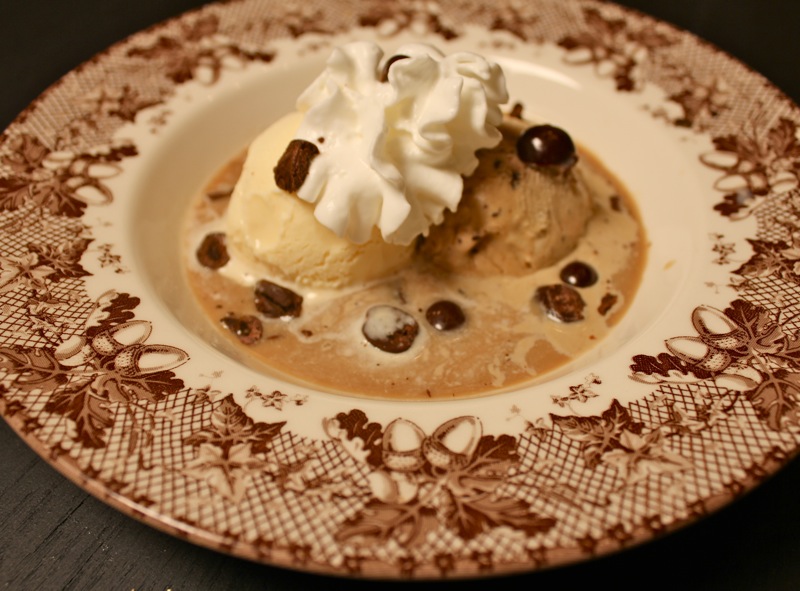
With the addition of hazelnut gelato, Kahlua liqueur, whipped cream and chocolate-covered espresso beans – my oh my – You have a decadent ice cream sundae.  The hot espresso added to the bowl melts the vanilla and hazelnut gelato a bit.  The Kahlua just makes it good and the chocolate espresso beans add a bit of crunch.  The whipped cream is just over the top.  But why not?

Believe it or not, I was able to find hazelnut truffle gelato at my local grocery store.  It is made by Ocean Spray.  I was also happy to find chocolate-covered espresso beans in the bulk bins with the nuts and specialty flours.

I think you will agree that this is a special dessert that is unique, easy and impressive.

AFFOGATO SUNDAES ( The Barefoot Contessa)

1 pint hazelnut gelato or hazelnut ice cream
1 pint vanilla gelato or vanilla ice cream
8 tablespoons Tia Maria or Kahlua liqueur
8 tablespoons freshly brewed hot espresso or strong coffee
Sweetened Whipped Cream
Chocolate-covered espresso beans, chopped or whole

Place one scoop each of hazelnut and vanilla gelato in each of 4 dessert or cafe au lait bowls.  Spoon 2 tablespoons of Kahlua and 2 tablespoons of hot espresso over each serving.  Dollop some whipped cream onto each serving and garnish with a handful of chocolate-covered espresso beans.  Serve immediately.  Serves 4.

Printable recipe

Peaches n’ Irish Cream Crumble

July 15th, 2013

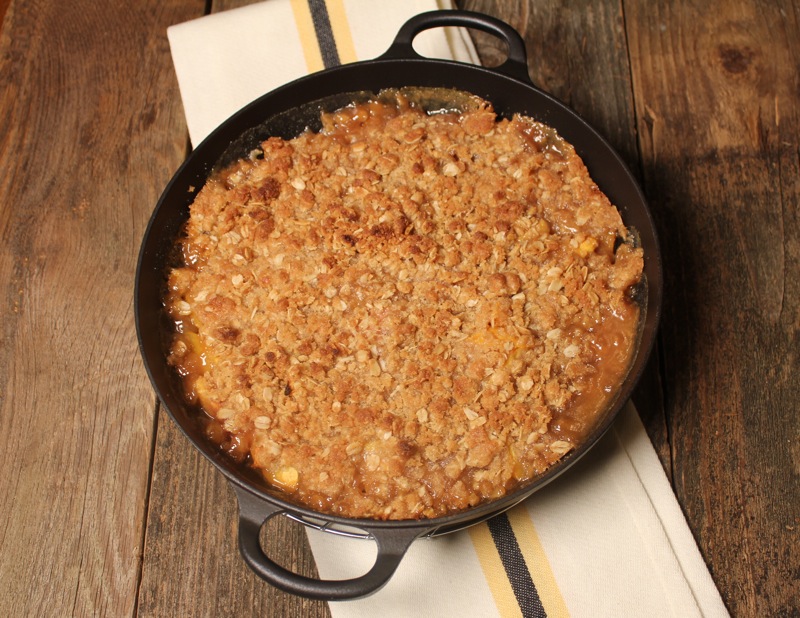
Peaches n’ Cream is a Southern tradition.  Fresh peaches, sliced and topped with whipped cream are hard to beat.  But I just entered the weekly contest over at Food 52 and we were asked to come up with a recipe for a cobbler, crumble, crisp, pandowdy or any other buttery topped fruit dessert.  Since peaches are in season here in the South, that was my fruit of choice.  The expression “peaches n’ cream” led me to the idea of cream in the dessert.  But not just any cream.  Bailey’s Irish Cream came to mind.

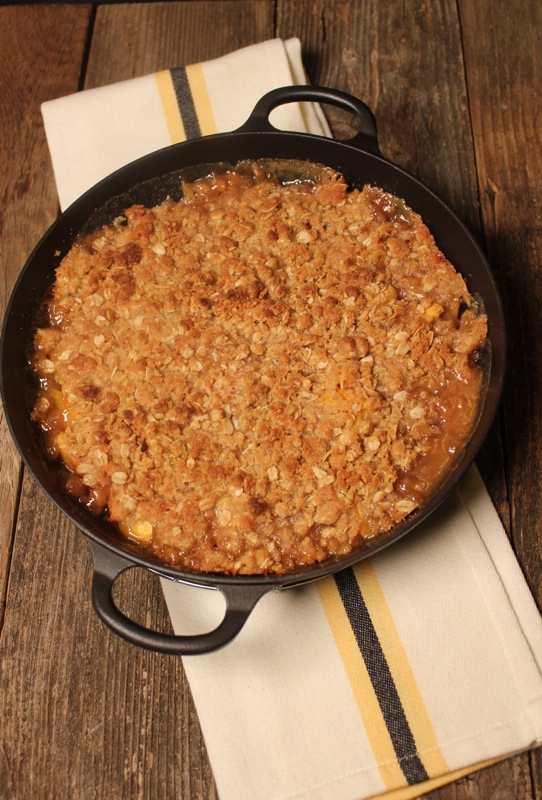
I really liked this combination.  The Bailey’s Irish Cream added a rich note to the peaches but was not overpowering.  The crumble topping was enhanced with a touch of cardamom and cinnamon.  And if you add a dollop of whipped cream flavored with Bailey’s and sugar you will be a very happy camper indeed.  No matter how well I do in the recipe contest, I am happy that I came up with this summer dish.  It is best enjoyed on a screened in porch after dark with a chorus of crickets serenading you.

PEACHES n’ IRISH CREAM CRUMBLE

For the Peaches:

  • 8 Peaches, peeled and sliced
  • 3 tablespoons Irish Cream (I used Bailey’s)
  • 2 tablespoons Sugar
  • Zest of 1 lemon
For the Crumble:

  • 2/3cups All-purpose flour
  • 2/3cups light brown sugar
  • 1/2cups old-fashioned rolled oats
  • 1/4 teaspoon cinnamon
  • 1/4 teaspoon cardamom
  • 1/4 teaspoon salt
  • 6 tablespoons butter, cold, cut into 1/4 inch pieces
  1. Preheat the oven to 375 degrees F. Butter a 9 to 10 inch pie plate or casserole. Place peaches in a bowl and mix with the Irish Cream, sugar and lemon zest. Turn mixture into prepared dish.
  2. In a mixing bowl combine the flour, brown sugar, oats, cinnamon, cardomon and salt. Add the cubed butter and with your fingers knead the butter into the dry ingredients until it is crumbly. Top the peaches with the mixture
  3. Bake the crumble for 30 to 35 minutes. Let rest for 15 minutes and serve topped with whipped cream.


Printable recipe

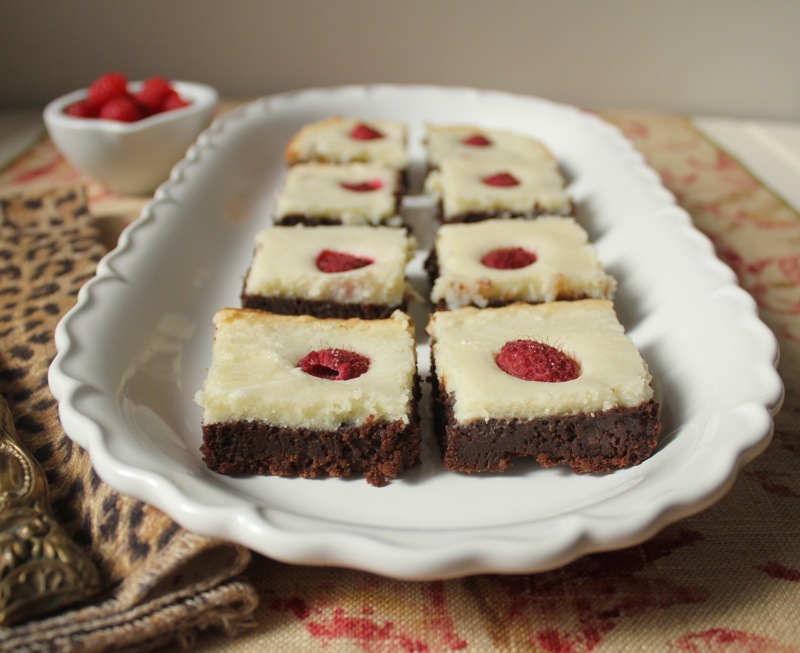
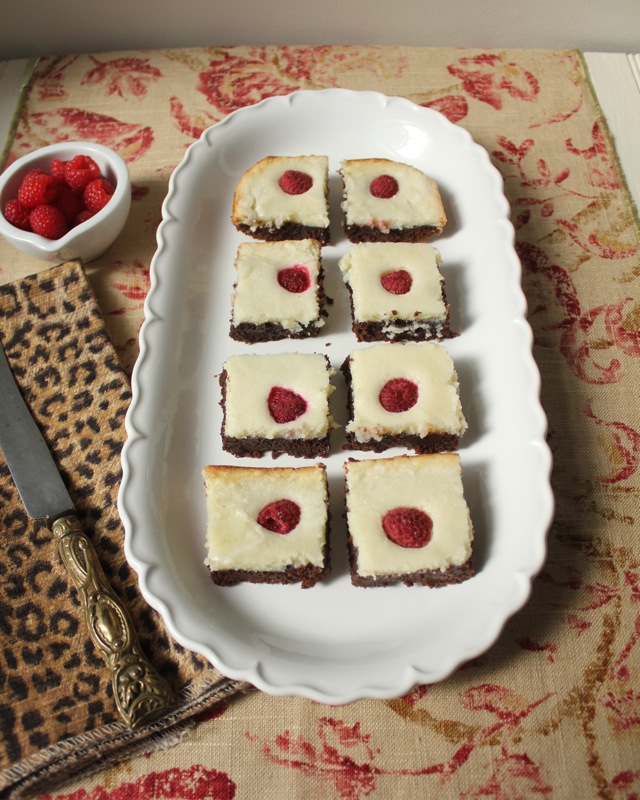
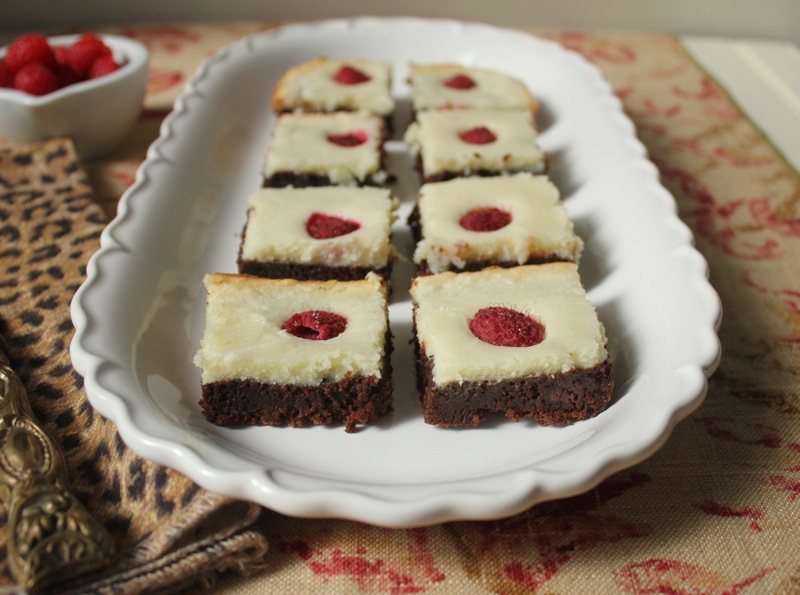
Raspberry Cheesecake Brownies

March 3rd, 2013

What could be better than rich chocolate brownies with a sweet and tart cheesecake topping?  That would be the same with a hit of fresh raspberries.  I have been cleaning and organizing the Florida house in preparation for our return to Lake Lure.  In the little used cabinet over the refrigerator I rediscovered my notebook of recipes from a whole live time ago.  Yellowed pages, stained and annotated by a younger me, brought back memories of the young wife and mother I used to be.  Dishes that I have not prepared in years reminded me of specific dinners with friends and family.

This brownie recipe is one of them .  It is an old recipe from Gourmet Magazine.  They are relatively easy to make; only requiring a few steps to make the layers.  My husband has always claimed the brownie prowess in our family.  He won a blue ribbon from 4-H for his recipe as a child.  But he is considering  yielding his status as “Brownie Expert” after tasting this rendition.  To me, the cream cheese layer lightens the richness of the chocolate brownie.  In addition, raspberries go so well with chocolate.

I feel like I have found a treasure trove of memories through recipes.  Another recipe I will share soon is my Texas Pecan Torte.  It was a dinner party favorite for many years.  I just hope our diets can survive this onslaught.

RASPBERRY CHEESECAKE BROWNIES

For Brownie Batter:
4 ounces fine-quality bittersweet chocolate, chopped
2 ounces unsweetened chocolate, chopped
1 stick (1/2 cup) unsalted butter
1 1/4 cup sugar
3 large eggs
1 1/2 teaspoon vanilla
3/4 teaspoon salt
3/4 cup all-purpose flour

For Cheesecake Topping:
8 ounces cream cheese, softened
2/3 cup sugar
2 teaspoons fresh lemon juice
1 large egg
1/2 teaspoon vanilla
1/4 teaspoon salt
2 tablespoons all-purpose flour

1 1/2 cups raspberries
1 tablespoon sugar

Preheat oven to 350 degrees F. and butter and flour a 13-by 9-inch baking pan.

Make Brownie Batter:
In a metal bowl set over a pan of barely simmering water melt chocolates with butter, stirring, and cool.  Whisk in sugar and eggs, 1 at a time, and whisk in vanilla and salt.  Whisk in flour until just combined and spread batter evenly in prepared pan.

Make Cheesecake topping:
In a bowl with an electric mixer cream together cream cheese and sugar until light and fluffy and beat in lemon juice, egg, vanilla, and salt.  Beat in flour and spread mixture in an even layer over batter.
Scatter raspberries over topping and sprinkle with sugar.

Bake brownies in middle of oven 35 to 40 minutes, or until top is puffed and pale golden and a tester comes out with crumbs adhering to it.  Cool brownies completely in pan on a rack and chill, covered, at least 6 hours or overnight.

Cut brownies into bars and sprinkle with confections’ sugar if desired.  Serve brownies cold or at room temperature.  Makes about 24 brownies.

Printable recipe


Raspberry Tart

February 28th, 2013


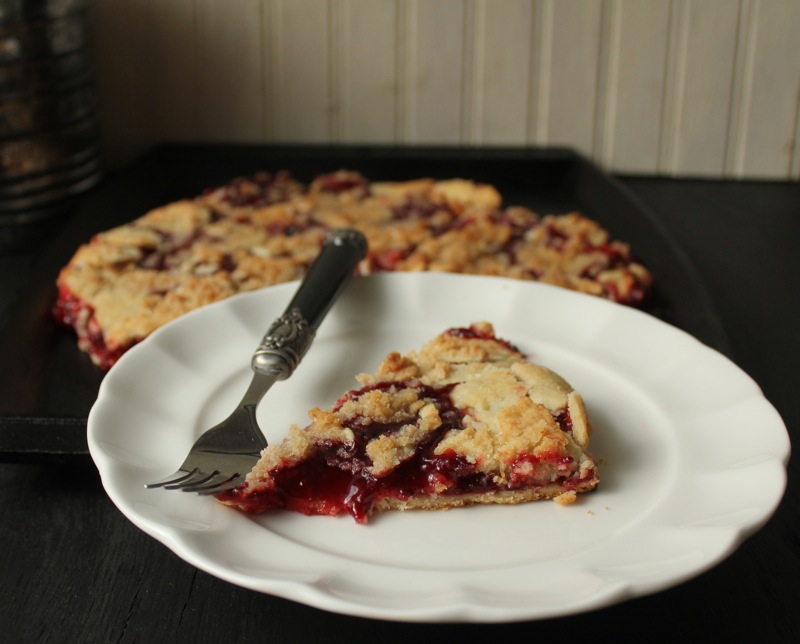
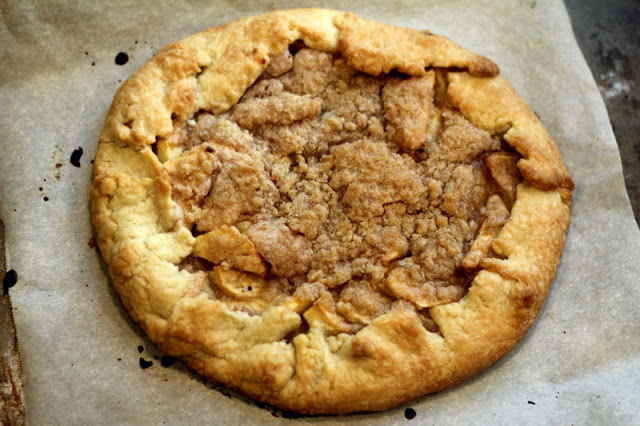
I decided to make a dessert with what I had on hand.  I don’t often use canned pie filling, but at Christmas time I bought a can of raspberry pie filling to make a breakfast pastry.  I never got around to using that recipe; can’t even find it now.   The can of raspberry pie filling has been sitting in my pantry for a while now.  One of my favorite desserts is Ina Garten’s Apple Crostata.  Why couldn’t I substitute raspberry pie filling for the apples?     It sounded like a winner to me.


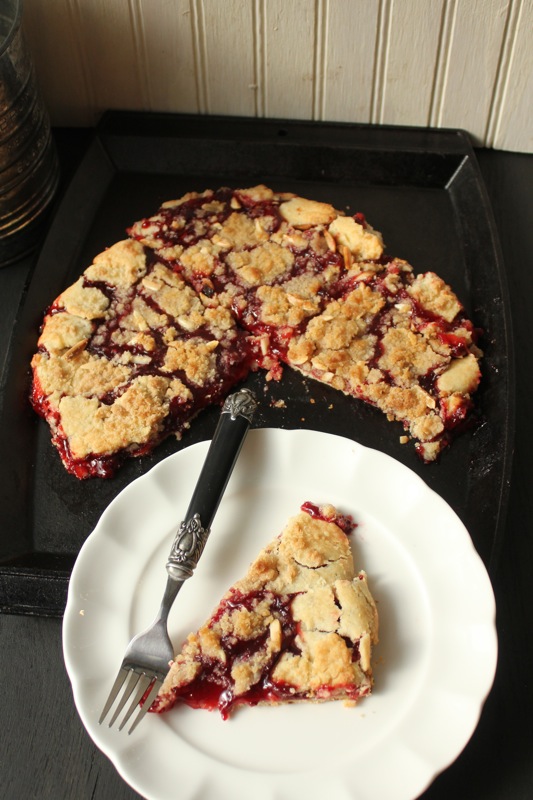
Just don’t expect it to look like this apple crostata above.  You see, I neglected to take into consideration that the apples were raw and not juicy when added to the pastry circle.  They released their juices while baking but never became runny.  The canned raspberry was juicy from the beginning.  It resulted in leakage and expansion.


Thank goodness I baked the tart on parchment paper.  It was easy to clean up the errant juices.  As a matter of fact, this tasted really good.  So here is my mistake in all of its messy glory.  I’ve had two pieces so far.  Next time I think I will bake it in a pie pan.  The canned raspberry pie filling has potential.


RASPBERRY TART

For the Pastry:
1 cup all-purpose flour
1/8 cup sugar
1/4 tsp salt
4 Tbls. cold butter
4 Tbls. vegetable shortening
2 Tbls. ice water

For the Filling and Topping:

1 18 ounce can of raspberry pie filling

1/4 cup flour
1/4 cup sugar
1/4 tsp salt
1/4 tsp cinnamon
4 Tbls cold butter, diced
1/4 cup sliced or slivered almonds

Preheat oven to 450 degrees F.

For the pastry, place the flour, sugar, and salt in the bowl of a food processor fitted with a steel blade.  Pulse a few times to combine.  Add the butter and toss quickly with your fingers to coat each cube of butter with the flour.  Pulse 12 to 15 times, or until the butter is the size of peas.  With the motor running, add the 2 Tablespoons of ice water all at once through the feed tube.  Keep hitting the pulse button to combine, but stop the machine just before the dough comes together.  Turn the dough out onto a well-floured board and form into a disk.  Wrap with plastic and refrigerate for at least an hour.

Roll the pastry into an 11-inch circle on a lightly floured surface.  Transfer it to a baking sheet lined with parchment paper.  Alternately, place in a 9″ pie pan, trim and flute the edges.  If cooking on the parchment paper, add the pie filling to the center of the pastry circle leaving a 1 1/2 ” border.  Fold the edges up over the pie filling, pleating as you go.

Combine the flour, sugar, salt, and cinnamon in the bowl of a food processor fitted with a steel blade.  Add the butter and pulse until the mixture is crumbly.  Pour into a bowl, add the almonds and rub it with your fingers until it starts holding together.  Sprinkle evenly on the pie filling whether on parchment paper or in the pie shell.

Bake the tart in the hot oven for 20 to 25 minutes.  Remove and cool before serving.

Printable recipe


Blood Orange and Rosemary Cake

February 1st, 2013

This has been a difficult post to write.  I just deleted my original first paragraph that was full of disillusionment in this recipe and the way I executed it.  I literally thought I had “executed” the cake.  But after time away from the results and taste testing a few times, I feel better about the cake and can pass on a few tips to you to make it better than my experiment.

This Blood Orange and Rosemary Cake is featured in my new favorite cookbook What Katie Ate.  Katie Quinn Davies is an Irish transplant to Australia and is a very talented photographer and food blogger with a blog of the same name.  I was transfixed by the picture of this cake in her cookbook.  The blood oranges leant a beautiful bright pink to the frosting on her cake.  I knew it would be one of the first recipes I would make.  But I had to wait until blood oranges were in season.  They finally arrived at our supermarket this week.

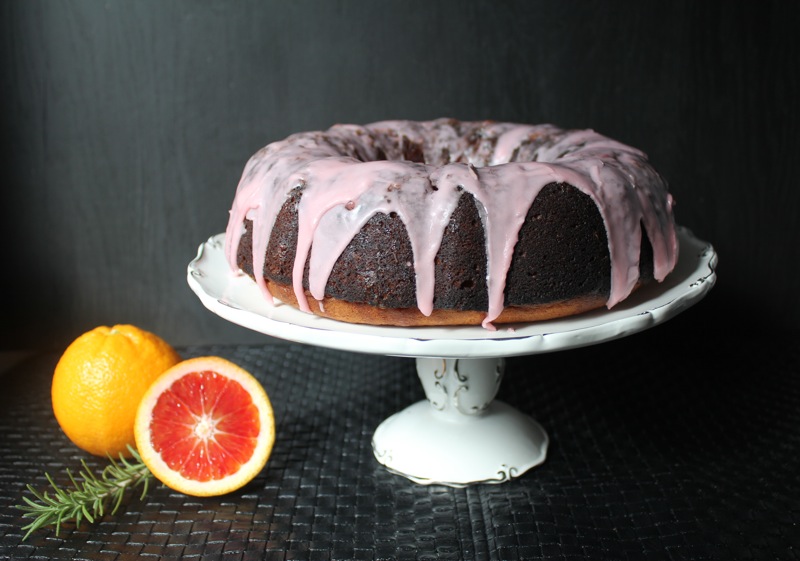
I followed the recipe to a tee.  I noted that the three eggs that were listed in the ingredients were not mentioned in the written directions.  But I pretty much know when to add eggs to a batter.  I also discovered that you can go to this page on the internet to find the corrections to the cookbook.  I felt like 400 degrees was too hot to bake a cake.  I was right, especially in my oven.  Before I could rescue the cake the edges were blackened.  In my photos you can see that my cake looks like chocolate.  That is actually scorched batter.
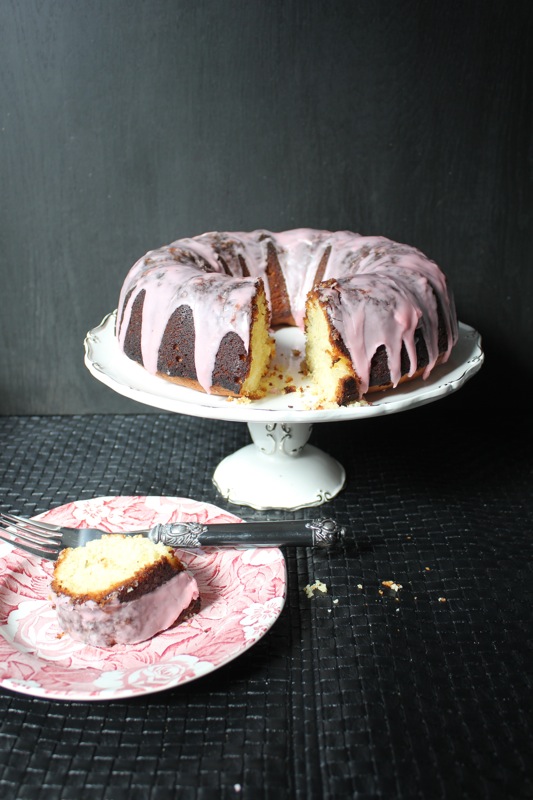
When I poured the orange syrup over the cake the pulp in it stayed on the top and made funny ridges under the too runny frosting that I added later.  Straining it in a fine sieve would have been a good idea. Also the color of the frosting was not as vibrant as I would have liked so I added more blood orange juice, which thinned the frosting too much.  That was the only diversion from the recipe.  So I learned a lot.  The texture of the cake is good.  When I first tasted it, I thought the rosemary was a bit overpowering.  The directions call for three sprigs of rosemary.  How large are the sprigs?  I think mine were too large.  But after an hour or two David said “You know, this cake is growing on me”.  I began enjoying it too and feel that it has great potential.  It makes a great, not too sweet, treat with tea or coffee.  I had a piece for breakfast this morning.  So here it is- not looking as great as Katie’s cake.
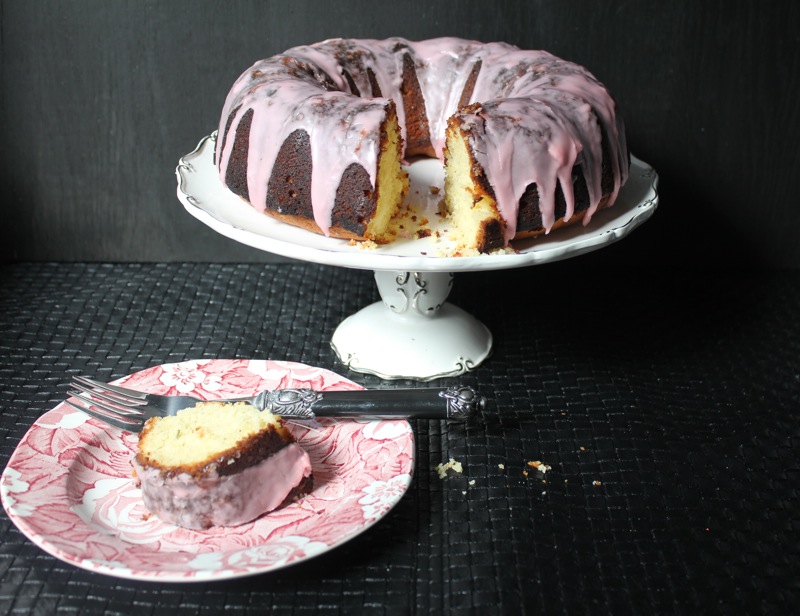
But I do want to try it again.  Here is the recipe if you would like to give it a try.  I’ve added my changes in italics.

BLOOD ORANGE AND ROSEMARY CAKE

2 sticks unsalted butter, softened
1 cup superfine sugar – 1 cup sugar
2 teaspoons cointreau – triple sec
3 large eggs
1 blood orange, peeled, pith removed and cut into segments
1 orange, peeled, pith removed and cut into segments
3 sprigs rosemary, leaves picked – 2 tablespoons
2 cups all-purpose flour, sifted
2 teaspoons baking powder, sifted

Blood Orange Syrup:
Juice of 2 blood oranges – strain through fine sieve
Juice of 2 oranges – strain through fine sieve
1 tablespoon sugar

Blood Orange Frosting:
Juice of 1 blood orange
2 cups confectioners’ sugar, sifted

Preheat the oven to 400 F ( I would recommend 350 F).  Grease a 6 cup capacity bundt pan (alternatively, grease and line a 9-inch sprinform cake pan).

Use an electric mixer to cream the butter and sugar for 10 minutes until light and creamy.  Add the Cointreau (Triple Sec) and the 3 eggs beaten and beat until combined.

Whizz the blood orange, orange and rosemary in a food processor until the rosemary leaves are finely chopped and the oranges are blended to a pulp.  Add to the butter and sugar mixture and beat together on low speed until combined.

In a separate bowl, mix together the flour and baking poser.  With the mixer on low speed, gradually add the flour mixture to the butter until everything is well incorporated.

Pour the cake batter into the prepared pan.  Bake for 45-50 minutes or until the top is golden and a skewer inserted into the center comes out clean.

Meanwhile, to make the blood orange syrup, place the ingredients in a saucepan and bring to a boil, stirring constantly.  Reduce the heat to medium and simmer, stirring occasionally, for 10-15 minutes or until the sugar has dissolved and the syrup has reduced by about a third.  Strain syrup through a fine sieve and return to saucepan and keep warm while cake is baking.

Leave the cake to cool a little before transferring it to a wire rack.  Place a plate underneath the rack to catch any drips, then prick the top of the cake with a skewer, spoon the warm syrup over the cake and leave it to be absorbed.

Make the frosting by combining the blood orange juice and confectioners’ sugar until smooth.  Drizzle the frosting all over the cooled cake, then chill the cake in the fridge for 20 minutes before serving.

Printable recipe
 

© Penny Klett, Lake Lure Cottage Kitchen. All rights reserved.