Rosemary Olive Oil Bread and a Winner

January 8th, 2013

I have been appalled lately by the price of a loaf of bread.  Bread is one the big three of the things people run out for when a blizzard is forecast;  bread, milk and toilet paper.  It is so basic to our needs (unless we are on a carb free diet) that it seems criminal to charge so much.  Granted you can still find loaves of spongy white bread at a good price, but if you prefer a more wholesome bread you can pay up to $5.00 a loaf.  One of my favorite breads, and one that I don’t mind paying a premium for, is La Brea’s Rosemary Olive Oil Bread.

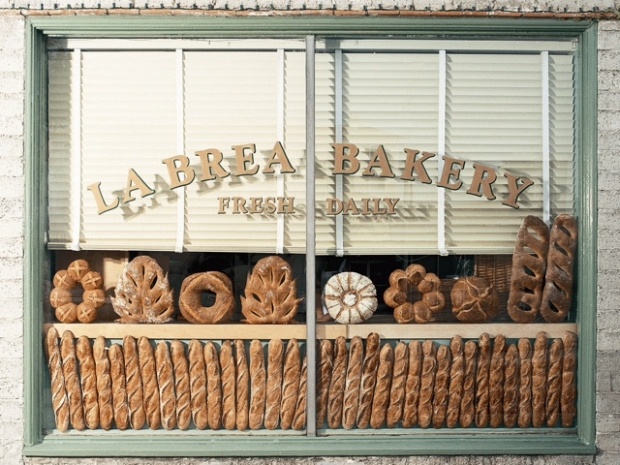
The La Brea Bakery opened in Los Angeles in 1989.  Chef Nancy Silverton developed her bread starter in 1988 and when she opened La Brea the following year the starter was well established.  Chef Silverton was one of the pioneers of the artisan bread movement in the United States.  Now La Brea Bread is sold all over the United States and internationally.  I buy it at Harris Teeter stores when I am in North Carolina.  But we are in Florida for the winter.  After lamenting the price of breads available in the supermarkets here, I decided to try my hand at making my own rosemary olive oil bread.

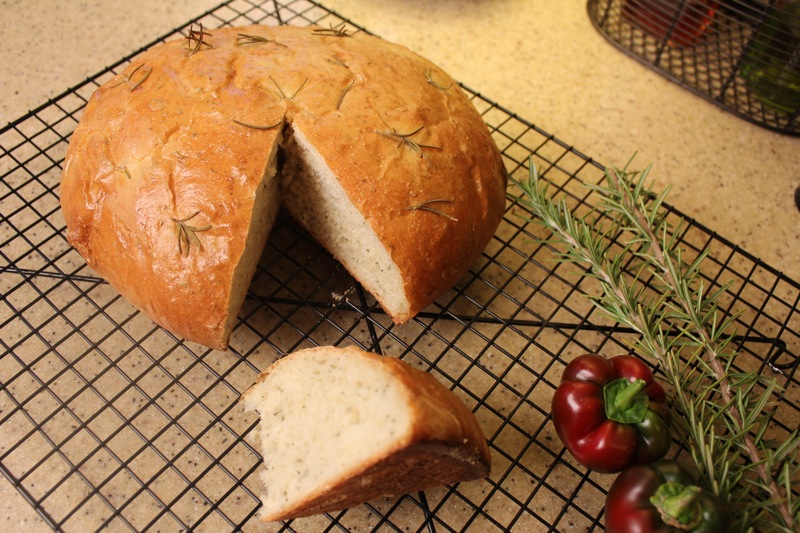
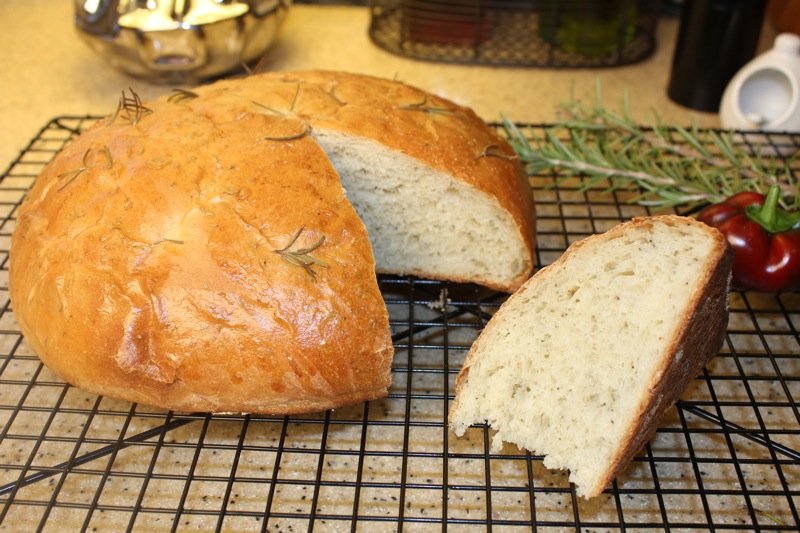
I found a very easy recipe on the internet and adapted it to suit my taste.  I have plenty of rosemary on my 6 foot bush next to the house and had picked up a fruity olive oil when I was at Trader Joe’s.  Making bread is a simple and rewarding process.  It takes very little hands on time and even that time is relaxing with the gentle kneading of the dough.  What is even better is that the bread tastes so good; almost as good as La Brea.  I have already made my second loaf.  I have a feeling bread making will be on my agenda all winter.  I’m also saving money, which is a good thing after the holiday frenzy.

Now to the winner of the What Katie Ate Cookbook.  Thanks to everyone for the nice comments.  I used the random number generator website to pick a winner.  I couldn’t figure out how to display the winning number here, so you will just to have to take my word for it.  The winning number was 33.  My comments appear from the bottom (number 1), up.  Number 33 is Lea Ann.  Congratulations Lea Ann.  You are going to love this book.  Please email me with your address.

ROSEMARY OLIVE OIL BREAD

1 cup very warm water
1 packet of rapid rise yeast
1 tablespoon sugar
2 tablespoons fruity olive oil
2 tablespoons finely chopped rosemary leaves
1/4 teaspoon Italian herbs
1 teaspoon salt
Freshly ground pepper to taste
2 cups King Arthur all-purpose flour (plus more for kneading)
1 egg, beaten
Additional rosemary, either fresh or dry for sprinkling to top of dough

1. In a large bowl, combine the warm water, sugar, and yeast. Let sit 10 minutes to proof.

2. Meanwhile steep the chopped rosemary in the olive oil.  Add the salt, rosemary olive oil mixture, and other seasonings to the bowl.  Add one cup of the flour and stir to incorporate all of the ingredients. Add the second cup of flour and mix to combine.  It will be sticky.  Dump the dough onto a heavily flour board and knead for about 5 minutes, adding more flour as necessary to prevent sticking, until smooth.  I added about 1/2 cup more flour in increments.

3. Place the dough in a lightly greased bowl; cover; and let rise until doubled in size, about1 hour.

4. Punch down the dough and form it into a round loaf. Place it on a cornmeal dusted pan, cover and let rise until doubled in size, about 45 minutes.

5. Meanwhile, preheat oven to 400 F. Once the dough has risen, gently brush the top with egg wash and sprinkle with dried rosemary.

6. Bake in preheated oven for 20-25 minutes until the top is golden brown and sounds hollow when tapped.

Makes 1 round loaf.
Printable recipe


Massachusetts Corn Muffins

December 6th, 2012


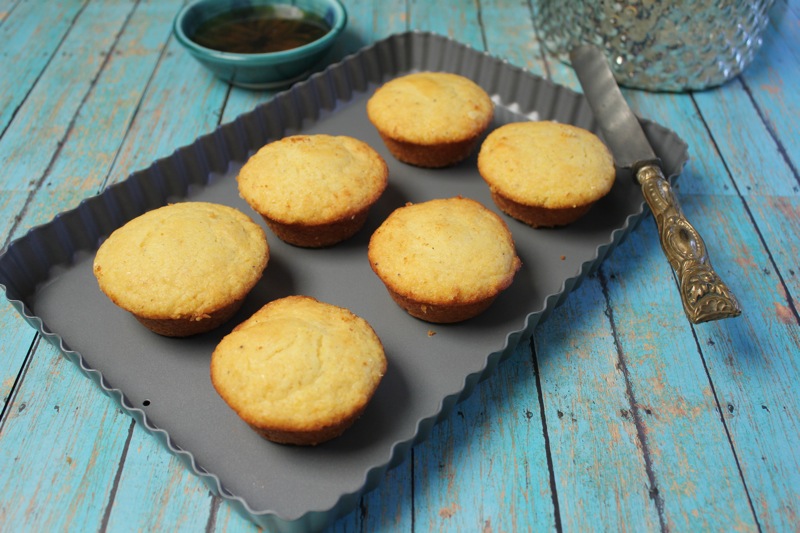
I had no idea that Massachusetts has an official State muffin.  The corn muffin was chosen by the school children of Massachusetts to have that honor.  It is a staple of New England cookery.  I could not find a state muffin for North Carolina or Florida so if anyone knows if there is such a thing, I would like to be informed.

I was simply looking for a good corn muffin to go with some split pea soup that I had simmering.  I found one on Martha Stewart’s website and was curious as to why she called it a Massachusetts corn muffin.  The addition of honey is characteristic of all of the recipes I viewed for that designation.


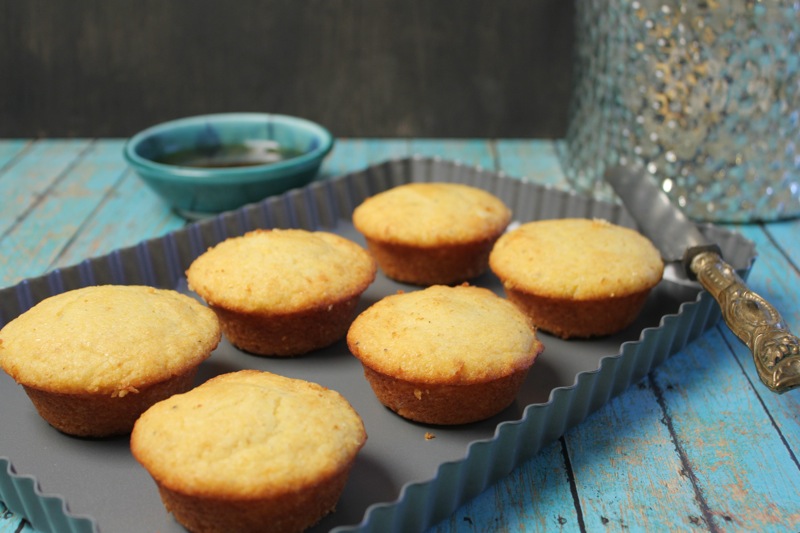
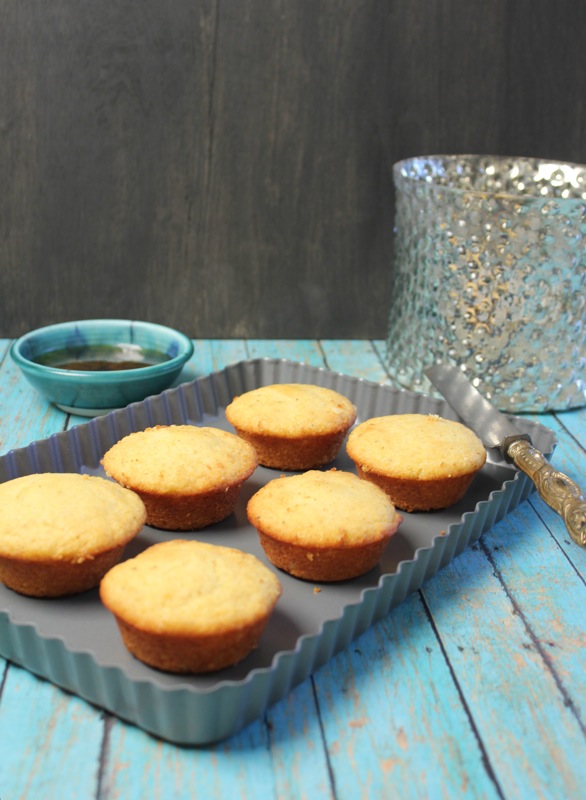
This is a pleasantly sweet muffin.  I enjoyed it with the split pea soup.  I am enjoying it in the morning with a cup of coffee.  It is large and not at all crumbly so it is easy to smear with butter and /or additional honey.  It will be a regular component of soup dinners in our house.


You might want to check to see if your state or region has a designated muffin.  Massachusetts certainly has a good one.


MASSACHUSETTS CORN MUFFINS

1 cup yellow cornmeal
1 cup all-purpose flour
2/3 cup sugar
1 tablespoon baking powder
coarse salt
1/4 cup safflower oil (I used regular canola oil)
4 tablespoons melted butter
2 tablespoons honey
2 eggs lightly beaten
1 cup milk

Preheat oven to 350 degrees F.  Spray a 12 cup muffin tin with oil or smear with butter.

In a large bowl combine cornmeal, flour, sugar, baking powder and 1 1/2 teaspoon salt.  In another bowl combine the oil, butter and honey.  Add the eggs and milk and beat to combine.  Add the wet ingredients to the cornmeal mixture and stir together.

Divide batter evenly among muffin cups.  They will be almost full.  Bake until tops are golden and a toothpick comes out clean, about 18 minutes.  Let cool in pan for 10 minutes.

Printable recipe


Pumpkin-Parmesan Biscuits

October 19th, 2012

Sometimes, all I want for breakfast is a warm biscuit, scone or corn muffin.  There is something satisfying about a hot cup of coffee and bread that is not too sweet, but just right.  Biscuits have a long history in the South and any Southerners worth their salt can make biscuits in their sleep: dump, mix and kneed.  They have not been easy for me because I grew up in Michigan and biscuits never crossed my Mother’s table.

I have had many disasters with biscuits and was sure that I did not possess the biscuit gene.  But the secret to great fluffy biscuits is not to worry about them.  Don’t handle them too much and cut the butter into them with abandon.  Now I get it.

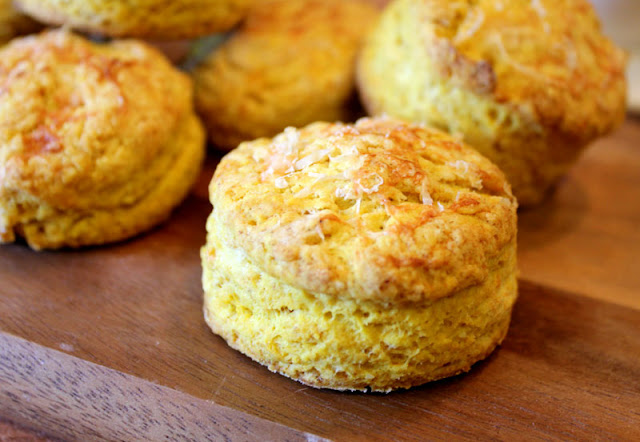
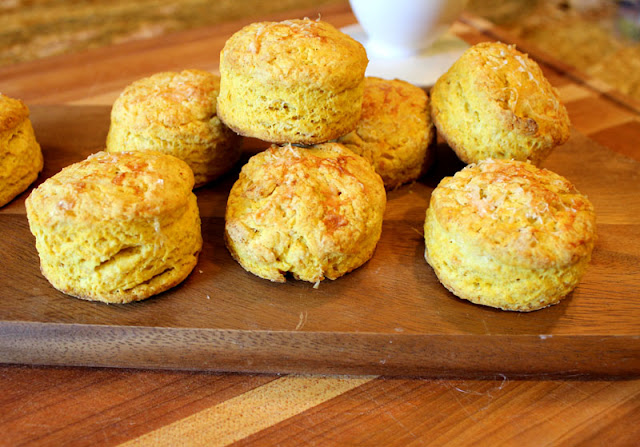
These pumpkin-Parmesan biscuits were featured in The Food Network Magazine.  They are perfect for this time of year with a hint of pumpkin, nutmeg and Parmesan.  The pumpkin lends them a light orange color and they are delicious hot out of the oven or warmed up the next morning.

The pumpkin-Parmesan biscuits are great with just butter.  But they would be great split and stuffed with sage flavored sausage patties for a brunch or served in a basket for a Thanksgiving dinner.  But I am enjoying them for breakfast for the next few days.  Wish you could join me.

PUMPKIN-PARMESAN BISCUITS

2 cups all-purpose flour, plus more for dusting
1 tablespoon baking powder
1 tablespoon sugar
1 teaspoon kosher salt
1/4 teaspoon freshly grated nutmeg (or 1/8 tsp dry nutmeg)
2 tablespoons finely grated Parmesan cheese
1 stick cold unsalted butter, diced, plus melted butter for brushing
1/2 cup canned pumpkin
1/4 cup heavy cream

Preheat the oven to 400 degrees F; line a baking sheet with parchment paper.  Whisk the flour, baking powder, sugar, salt and nutmeg in a large bowl.  Whisk in 1 tablespoon Parmesan.  Add the diced butter and work it in with your fingertips until the mixture looks like coarse crumbs.  Mix the pumpkin and cream in a small bowl and pour over the flour mixture.  Mix with your hands or a fork to make soft dough.

Turn the dough out onto a lightly floured surface and roll out into 3/4-inch-thick rectangle using a floured rolling pin.  Cut out biscuits using a 2-inch-round cutter and arrange about 2 inches apart on the prepared baking sheet.  (You will need to gently re-roll scrapes to get all of your biscuits).  Brush the tops with melted butter and sprinkle with the remaining 1 tablespoon Parmesan.  Bake until golden, 15 to 20 minutes.  Transfer the baking sheet to a rack and let the biscuits cool slightly before serving or cool completely and freeze.

Makes 12 to 14 biscuits

Printable recipe

Rosemary Focaccia

March 1st, 2012

I use rosemary in so many dishes.  I stuff it in whole chicken with lemons.  I sprinkle it on pork roasts and I flavor focaccia bread with it.  Rosemary is a woody perennial indigenous to the Mediterranean region.  It’s Latin origin means sea dew and it thrives in dry soils with just the sea breezes to moisten it’s needle like leaves.  When we first bought our Florida house, I planted a small rosemary sprig.  This is what it looks like five years later.

Not only do I love the way it adds flavor to so many dishes, but it supposedly has health benefits also.  It contains the antioxidants carsonic acid and rosmarinic acid which aid in preventing Alzheimer’s disease.  That makes me want to just chew on it’s leaves out of hand.  : >)

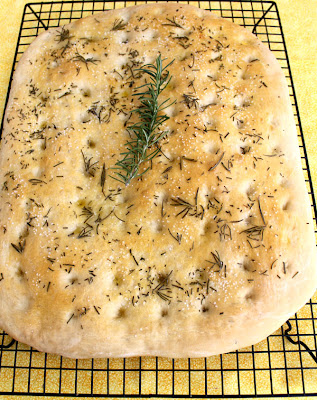
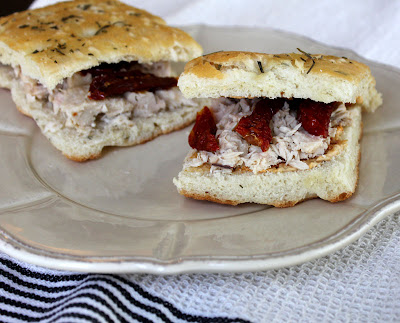
This is a very easy focaccia bread to make.  The rosemary is both sprinkled on the top of the bread before baking and added to the dough after an initial steep in boiling water.  The bread is good with soup or it can be split to make a tasty sandwich.

I am willing to do my part in reducing the risk of losing my mind.  The phrase “Rosemary for Remembrance” is  more than folklore.

ROSEMARY FOCACCIA ( Cooking Light )

1 1/4 cups boiling water
3 tablespoons chopped fresh rosemary, divided
1 tablespoon honey
1 package dry yeast
3 3/4 cups all-purpose flour, divided
1/4 cup olive oil, divided
1 teaspoon kosher salt or sea salt
Cooking spray
1 teaspoon water
1 large egg yolk
1 teaspoon seal salt or kosher salt

Combine boiling water, 1 teaspoon rosemary, and honey in a large bowl; cool to 100 to 110 degrees.  Sprinkle yeast over honey mixture; let stand 5 minutes.  Lightly spoon flour into dry measuring cups; level with a knife.  Add 3 1/4 cups flour, 2 tablespoons oil, and 1 teaspoon salt to honey mixture, stirring to form a soft dough.  Turn dough out onto a floured surface.  Knead until smooth and elastic ( about 10 minutes ); add enough of remaining flour, 1 tablespoon at a time, to prevent dough from sticking to hands (dough will feel sticky).

Place dough in a large bowl coated with cooking spray, turning to coat top.  Cover and let rise in a warm place free from drafts, 45 minutes or until doubled in size.  Punch dought down.  Pat dough into a 14 x 12-inch rectangle on a baking sheet coated with cooking spray.  Cover and let rise 20 minutes or until doubled in size.

Preheat oven to 350 degrees F.

Uncover dough.  Make indentations in top of dough using handle of a wooden spoon or your fingertips.  Combine 1 tablespoon oil, 1 teaspoon water, and egg yolk; bush over dough.  Drizzle with 1 tablespoon oil; sprinkle with 8 teaspoons rosemary and sea salt.

Bake at 350 degrees for 25 minutes or until lightly browned.  Remove from pan; cool on a wire rack.

Printable recipe

Orange and Olive Oil Cake

January 10th, 2012

I have a list of Pins on Pinterest that I would love to get through this year.  If you haven’t been to that website you really should give it a look.  The whole idea is that you can create pin boards of images that you have seen on the web and go back to your pin boards anytime that you would like.  I have pin boards for home design ideas, Holiday ideas and of course Recipes to Try.  This recipe appeared on Pinterest not too long ago and the idea of a refreshing orange studded cake (or sweet bread) really appealed to me.  The use of olive oil instead of butter sounded like a healthy alternative also.

The original recipe came from Smitten Kitchen.  Deb used blood oranges in the recipe.  The recipe that appeared on Pinterest came from Small Kitchen College started by the gals at Big Girls Small Kitchen fame.  I adapted the recipe from their recipe.  But the concept is simple and delicious.  The batter is flavored with orange zest, orange juice and orange chunks.  The fat is olive oil instead of butter.  I was lucky enough to have some leftover O Olive Oil Blood Orange oil to use from the contest I was in recently.  By the way, I did not win in case you are wondering.  The recipe calls for 2/3 cups of olive oil.  I had about 1/3 cup of the flavored oil and used 1/3 cup of regular olive oil.

The cake was moist and delicious with an appealing orange flavor.  You can serve it as is for breakfast or topped with fruit and whipped cream for dessert.  I had it mixed up and in the oven before I walked the dog this morning  What a treat is was to come home to the lovely smells emanating from my oven.

One Pin off of my list!  I would do better if I didn’t keep finding more pins to add. 

ORANGE AND OLIVE OIL CAKE

Butter for greasing pan
2 oranges
1 cup sugar
1/2 cup plain yogurt ( I used sour cream )
3 large eggs
2/3 cup extra virgin olive oil
1 3/4 cups all-purpose flour
1 1/2 teaspoon baking powder
1/4 teaspoon baking soda
1/4 teaspoon salt

Preheat oven to 350 degrees F. and grease a loaf pan.

In a large bowl, add the zest of 2 oranges, sugar, eggs, yogurt or sour cream and olive oil.  Squeeze in the juice of 1 orange.  Cut another peeled orange into 1/4 inch cubes and add to the bowl.  Mix well.  In another bowl, mix together the flour, baking powder, baking soda and salt.

Add the wet and dry ingredients together and stir well.  Pour the batter into the greased pan.  Bake for approx. 50 minutes or until a toothpick comes out clean.

Printable recipe

© Penny Klett, Lake Lure Cottage Kitchen. All rights reserved.