Candied Pecan Sour Cream Coffee Cake

January 1st, 2016

IMG_6769

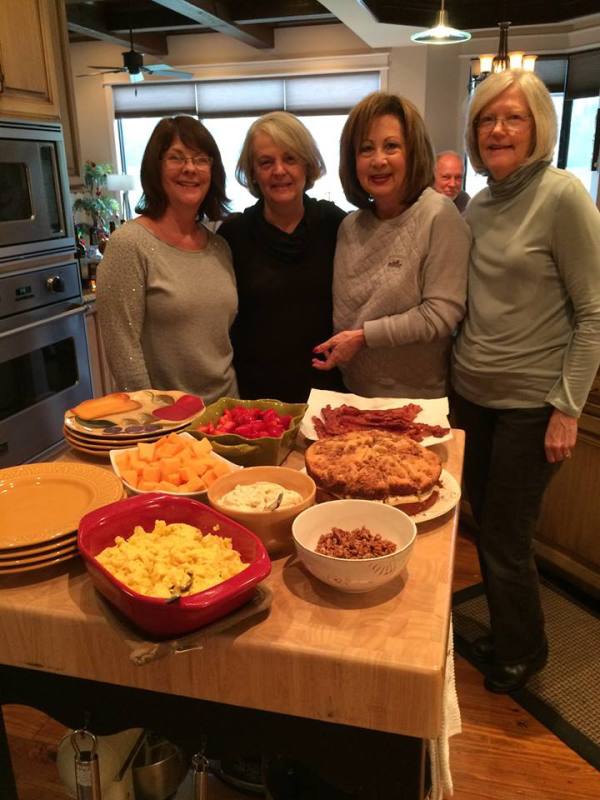
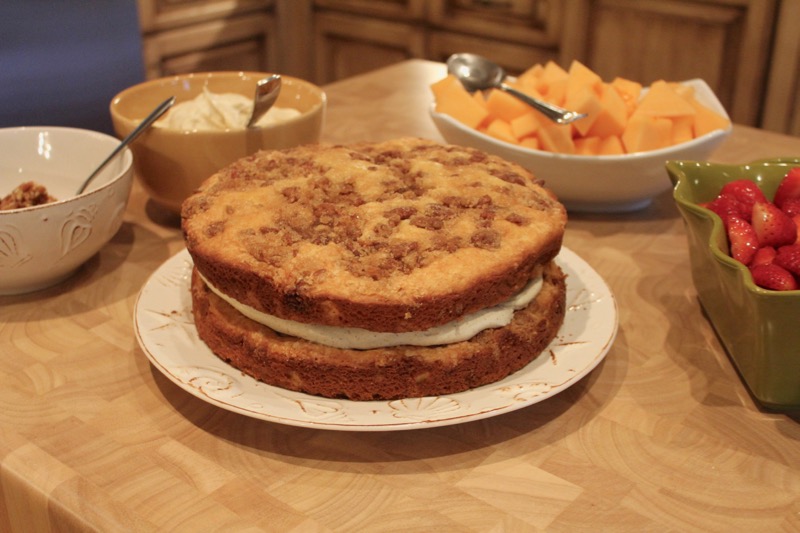
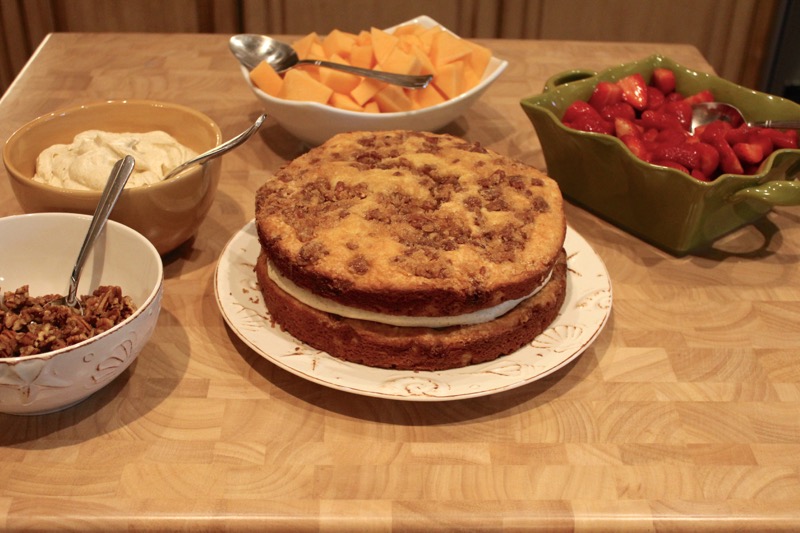
Happy New Year everyone.  We are still visiting with friends in Hilton Head.  Meal preparation is a shared endeavor when we are together.  It was my turn to make breakfast yesterday.  I found this recipe for a candied pecan sour cream coffee cake with eggnog cream filling on Pinterest a few weeks ago and decided that it would make a great “do ahead” breakfast dish.  I made the cake layers and froze them.  All I had to do when it was time to make breakfast was to prepare the filling.  I also froze the remaining candied pecans to sprinkle over the whipped topping when served.  With the coffee cake I served bacon, scrambled eggs and fruit.IMG_6767

The only thing I would change in the recipe is to possibly use real whipped cream instead of the Cool Whip.  But otherwise it is a wonderful breakfast coffee cake.

New Years 2016 galsBarbara (third from left) is making Paula Dean’s Breakfast Casserole today.  It is a decadent French Toast dish. It is one of our traditional recipes.  We are looking forward to a day of eating and cooking.  What a perfect way to start off the New Year.

CANDIED PECAN SOUR CREAM COFFEE CAKE ( From Melanie Makes )

INGREDIENTS
Candied Pecans:
3 tablespoons brown sugar
3 teaspoons water
1/4 teaspoon vanilla
1/4 teaspoon salt
2 cups chopped pecans
Sour Cream Coffee Cake:
2 cups flour
1 1/4 teaspoons baking powder
1 teaspoon baking soda
1 teaspoon salt
1/2 cup butter, softened
1 cup sugar
2 eggs
1 teaspoon vanilla
1 cup sour cream
1/3 cup brown sugar
1/4 cup sugar
1 teaspoon vanilla
Eggnog Cream Filling:
1 1/4 cups eggnog
3.4 oz. box instant vanilla pudding
2 teaspoons cinnamon
8 ounces whipped topping
INSTRUCTIONS
Candied Pecans:  In a small bowl, stir together brown sugar, water, vanilla and salt.  In a large skillet over medium heat, add pecans and toast until pecans are fragrant, about 2-3 minutes.  Pour sugar mixture over pecans, stirring constantly for one minute and nuts are evenly coated.  Pour pecans onto parchment and allow to cool completely.
Sour Cream Coffee Cake:  Preheat oven to 350 degrees.  In a large bowl, whisk together flour, baking powder, baking soda and salt.
In the bowl of an electric mixer, cream together butter and sugar until fluffy.  Add eggs one at a time, beating well after each addition.  Add vanilla and mix until combined.  Add flour mixture alternately with sour cream to butter mixture.  Mix after each addition until batter is smooth.
Divid batter evenly between two greased 9″ round baking pans.
In a small bowl, stir together 1/3 cup brown sugar, 1/4 cup sugar, 1 teaspoon vanilla and 1 cup candied pecans.  Divide nut mixture evenly, sprinkling half over each cake round.
Bake for 15 to 20 minutes or until set.  Allow to cool completely before assembling coffee cake.
Eggnog Cream Filling:  In a medium bowl, whisk together eggnog, instant pudding and cinnamon.  Let sit for 5 minutes.  Fold in Whipped topping.
To Assemble Coffee Cake:  Place one cake round on serving plate and top with half of Eggnog Cream Filling, spreading evenly to edges of cake.  Place second cake layer on top of filling.  Served wedges of cake with a dollop of additional eggnog cream filling and candied pecans.
Printable Recipe

Honey-Pumpkin Cornbread and Warming Soup

November 3rd, 2015

IMG_6640

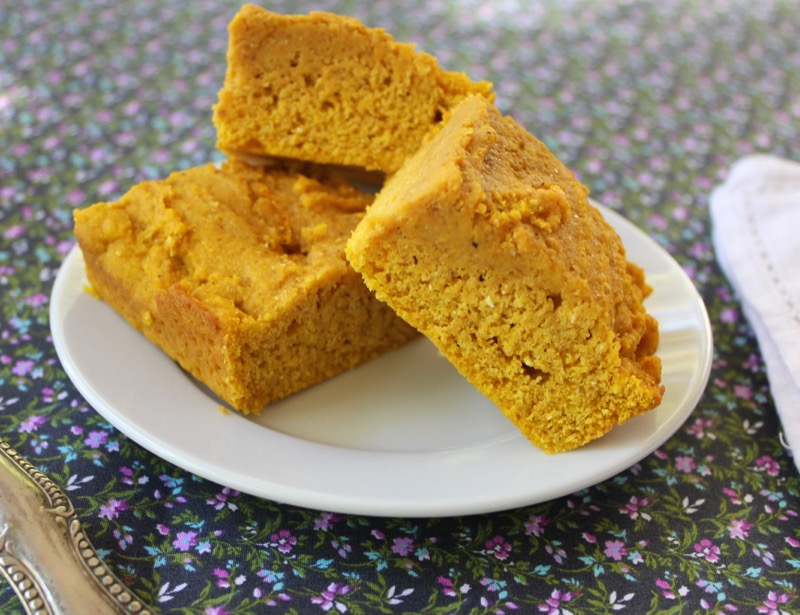
Taking a break from detailing our Italy trip, I wanted to share with you a tasty combination that I made on a recent cold and blustery day.  With thoughts of Thanksgiving in my mind, the idea of a cornbread with the addition of pumpkin sounded like a good combination. As it turned out, it was a good idea; moist, golden and lightly sweetened with honey.  The soup that I made with it came from one of my favorite blogs, Manger.  It is a combination of French lentils, farro and lots of vegetables.

IMG_6631

The feeling I am trying to express in this post is that of warmth and comfort.  The food is the starting point, of course.  But I would like to give you a few more visuals to explain how I am feeling. Perhaps, because I am still dealing with the aftermath of surgery, I need to concentrate on what makes me happy and secure.

Tuscan Villa 1

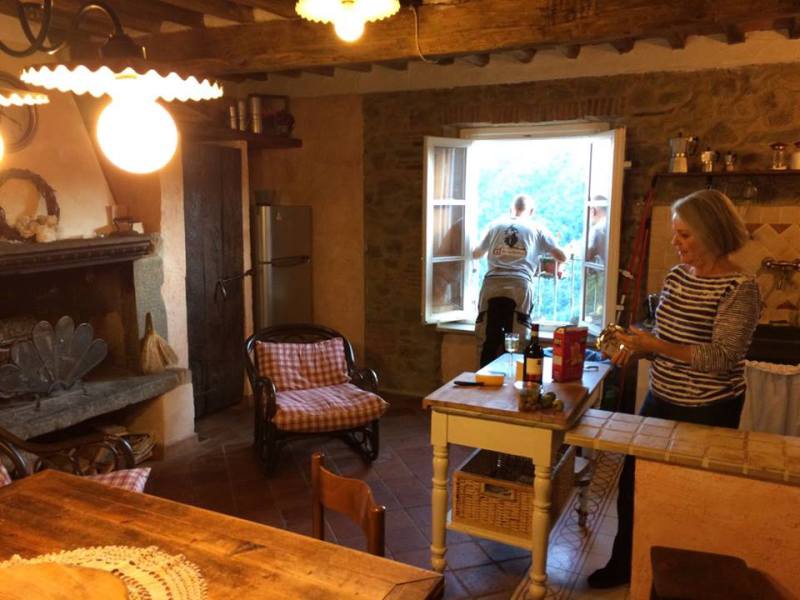
This Tuscan kitchen made me happy.  There were logs in the fireplace ready for an evening fire on a cool night. ( Wide angle lens tends to make people appear wider).  The gas stove was a dream to cook on and I could have spent an entire vacation in this charming villa.  I wanted to forego the motorcycle touring and just hang out here.

Tuscan Villa 2 View

This was the view from the window.  The church bell rang on the hour all day and all night.  Who needs a watch?

Dream room

This picture is small.  I saw it on Pinterest.  Although it is not necessarily my style these days, it is just like the house that I have seen in my dreams.  I don’t know about you, but I dream about houses.  In my dreams I always have this other house that I have neglected, but that I am very proud of.  I encourage my dream guests to make themselves at home, even though it is cluttered and dusty.  And I wonder to myself in my dream why I do not live there.  It is cozy and comfortable but a little bizarre.  This room lacks that bizarre element, but it is close to my vision.

I am on the mend.  Stitches taken out today.  Life is returning to normal and I am back in the kitchen.  If you are in the mood for some comfort food you will love this cornbread and Mimi’s Soup.

HONEY-PUMPKIN CORNBREAD

Ingredients

  • 1 1/2 cups all-purpose flour
  • 1 1/4 cups yellow cornmeal
  • 3 tablespoons sugar
  • 1 1/2 teaspoons baking powder
  • 1/4 teaspoon baking soda
  • 1/2 teaspoon sea salt
  • 1 cup canned pumpkin puree
  • 2 large eggs at room temperature
  • 5 tablespoons unsalted butter, melted
  • 4 tablespoons honey
  • 1/3 cup buttermilk
  • 1 tablespoon grated orange zest

DIRECTIONS:

  1. Preheat the oven to 400F. Lightly butter a 9-inch square-baking pan.
  2. Combine the flour, cornmeal, sugar, baking powder, baking soda and salt in a bowl. Whisk together the pumpkin puree, eggs, butter, honey, buttermilk and orange zest in a separate bowl. Stir the flour mixture into the pumpkin mixture until moistened; transfer to the prepared baking pan.
  3. Bake until the cornbread pulls away from the sides of the pans and a toothpick inserted into the center comes out clean, 20-22 minutes. Cool in the pan 5 minutes. Remove from the pan and cook on a wire rack at least 10 minutes before cutting.

Printable Recipe

The Cinque Terre or The Italian Riviera

October 11th, 2015

Cinque Terre 1

The Cinque Terre region of Italy is not usually on people’s top 10 list of places to visit.  It is a string of five centuries old villages on the rugged coast of the Mediterranean Sea.  The colorful houses and ancient terraced vineyards provide awe inspiring vistas. Fishing boats bob in the harbor.  Historically, fishing was the livelihood of the residents of this region.  The colorful houses originated because fishermen out in the water liked to look back and spot their own dwellings by their distinctive colors.

Cinque Terre 2

The roads into the villages are winding and scenic.  This is a perfect drive on a motorcycle or in a convertible, although the roads do not always go directly into the villages.  There are parking areas outside of each village.  Walking trails bring you into the hub of towns.  The whole area is connected to the country by way of railroads and a ferry system.

Cinque Terre

The local people have cultivated the terraced mountainous terrain for centuries.  The main crops are grapes and olives.  But the region is also the birthplace of pesto.  Basil, which thrives in the temperate Ligurian climate is mixed with Parmigiano and/or Pecorino, garlic, olive oil and pine nuts to make the pungent and delicious emulsion.  Served on spaghetti or bruschetta, it is popular the world over.

Cinque Terre Tulin and Me

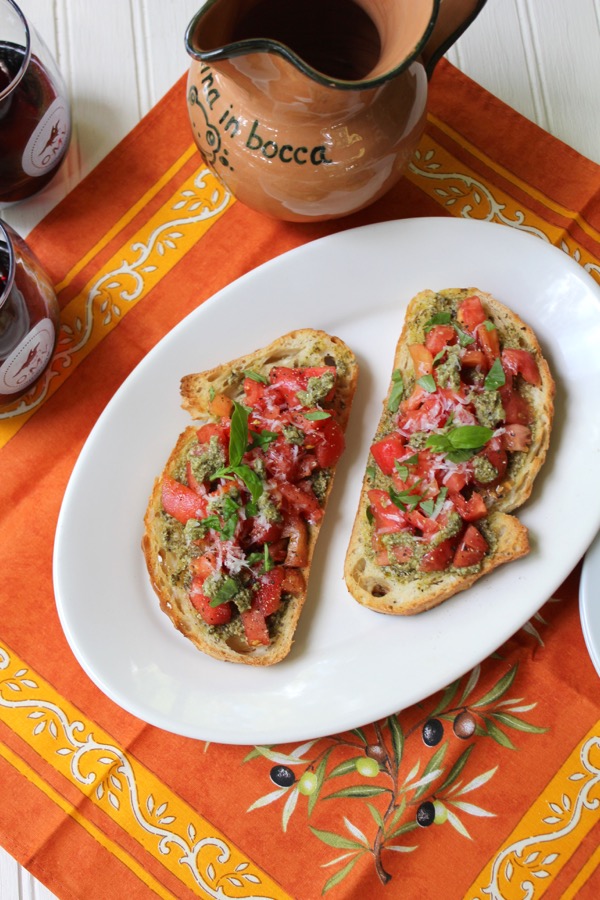
Tulin and I sat at a bistro overlooking the sea, perusing the limited menu.  One of the best things on the menu was a tomato and basil topped large toasted bruschetta.  Unfortunately I did not get a picture of it.  It was delicious and I am attempting to duplicate it here.

Cinque Terre T and P

The views from the village of Manarola were breathtaking.

Cinque Terre 4

We were in Manarola on Monday.  It was wash day.  What was so charming about these small villages is the lack of pretension.  Real people live here, going about their daily lives.  It is so different from the posh French Riviera.

Cinque Terre village scene

It is the time of year to harvest what is left of the basil plants here at home.  My basil has become leggy and much too tall.

IMG_6598

With thoughts of the lunch that I had in Manarola in the Cinque Terre, I made pesto and a bruschetta similar to what I had experienced there.  It made a delicious lunch here at home.
IMG_6609 (1)

Here are some general recipes and instructions.

BASIL PESTO FROM LIGURIA (The Four Seasons of Pasta)

Makes 1 1/2 to 2 cups
2 packed cups whole, tender young basil leaves
1/4 cup pine nuts
1 teaspoon sea salt, plus more to taste
1/2 cup extra-virgin olive oil, or more to taste
1/2 cup freshly grated Parmigiano-Reggiano, plus more to taste
1/2 cup freshly grated Pecorino sardo or Pecorino toscano
2 plump garlic cloves, crushed and minced

Working delicately, rinse and thoroughly dry the basil leaves and set aside.  In the bowl of the food processor, combine the rinsed and dried basil, the pine nuts, and salt.  Pulse until the mixture is coarse and grainy.  With the motor running, add the oil in a slow, steady stream.  Add the parmigiano and pecorino, processing just enough to mix well.  If the sauce is too dry, add a little more oil; if it’s too liquid, stir in a little more cheese and/or pine nuts.  Finally, add the garlic and process briefly, just to mix.  Taste and add more cheese or salt, if desired.

BRUSCHETTA WITH TOMATOES AND BASIL

Brush sliced Italian bread with olive oil.  Bake until lightly browned.  Smear the tops with basil pesto.  Pile on diced tomatoes, more dollops of pesto, grated parmigiano-reggiano cheese and sliced fresh basil leaves.

Printable Recipe

Thanks to Laurent of Ride in Tours for several of the photos
Garlic and Rosemary Baguettes

August 18th, 2015

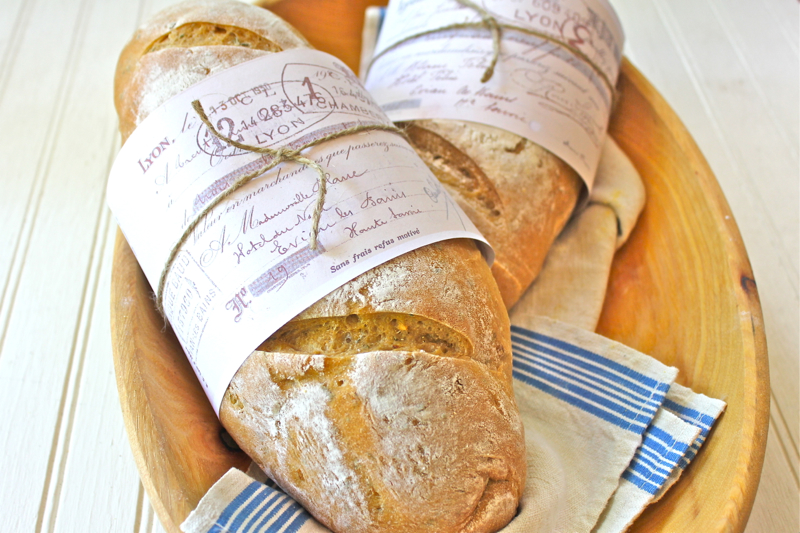
Garlic Rosemary Baguette 1

I can live without chocolate, but I can’t live without bread.  It is one of the great joys of a meal as far as I’m concerned.  Now, because of changes in our food choices, I am trying to experiment with different types of flour in my bread baking.  These garlic and rosemary baguettes are excellent.  King Arthur has a white whole wheat flour that I wanted to try.  It is milled from hard white Spring wheat – a lighter colored grain than traditional red wheat which yields milder-tasting baked goods.  Because this bread recipe also has an abundance of garlic and rosemary in it, the lighter but healthy white whole wheat flour is a bonus.

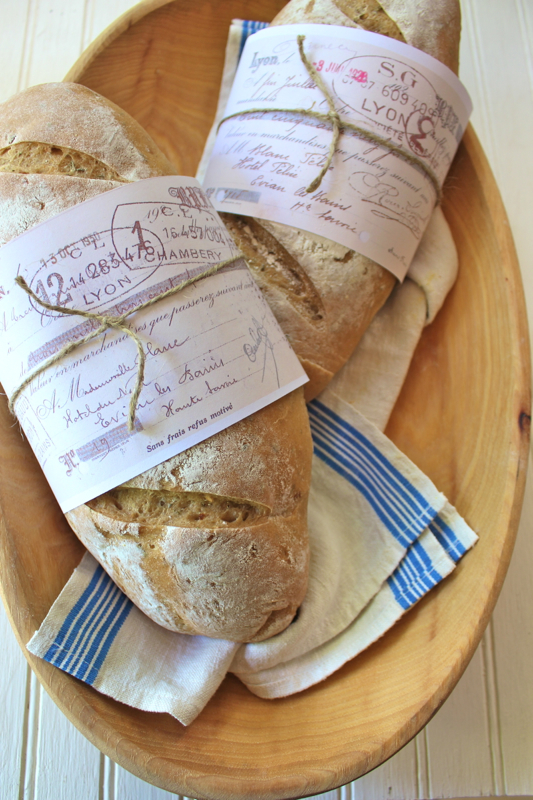
Garlic Rosemary Baguette 2v

But what I was most excited about, and inspired me to make this bread, was the free printable French bread wrappers that I found on Heather Bullard/ Lifestyle blog.  She is a contributing editor to Country Living Magazine and found the script sheets while traveling in France.  A big thank you to her for making them available.  They make a pretty presentation if you bake  loaves to give to friends and family.

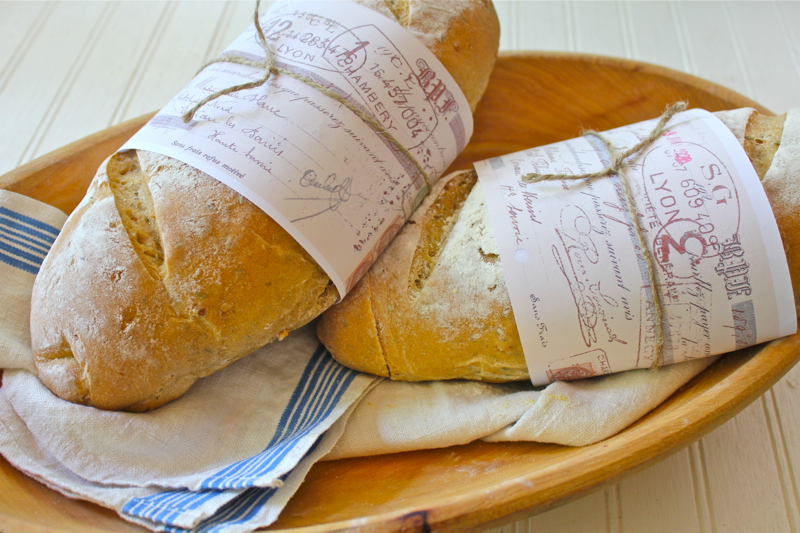
Garlic Rosemary Baguette 3

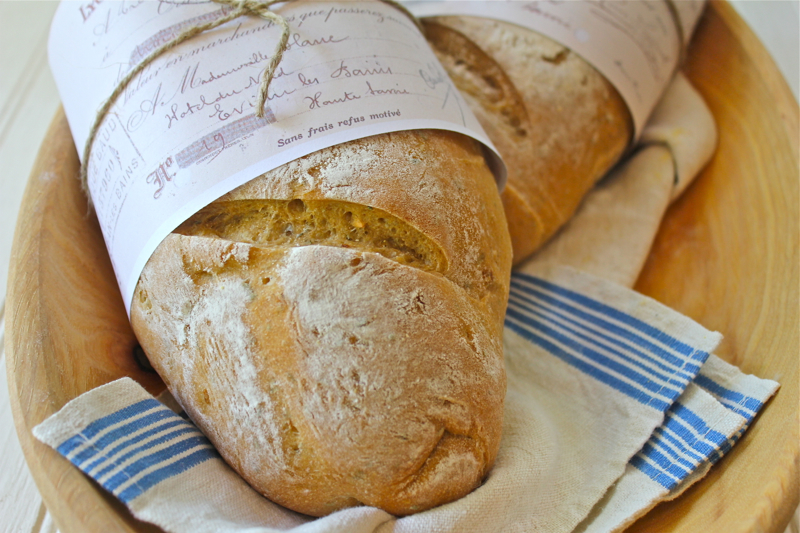
The original bread recipe came from a blog called Good Life Eats.  I changed the flours, but kept the garlic and rosemary.  This is a very garlic heavy bread, so if you are not a great fan, you can reduce the number of cloves.  It makes a convincing looking baguette but tastes more like a conventional homemade bread.Garlic Rosemary Baguette 4

The rustic loaves make great sandwiches and are a great accompaniment to spaghetti.
GARLIC AND ROSEMARY BAGUETTES

2 cups warm tap water, about 110 degrees
1/4 cup olive oil
2 1/2 teaspoons (1 envelope) active dry yeast
2 3/4 – 3 cups all-purpose flour
2 1/2 cups white whole wheat flour
6 cloves garlic, minced
1/3 cup fresh rosemary, chopped
4 teaspoons salt
1/4 cup flour for dusting the loaves
Cornmeal for the pans
2 small cookie sheets or a large (at least 11×17-inch) jelly roll pan

In the bowl of a food mixer, mix the water with the yeast.  Allow to ferment for about 10 minutes.  Once the yeast is bubbly add the olive oil, 2 1/2 cups of the all-purpose flour, the white whole wheat flour, garlic, rosemary and salt.  With a dough hook gently mix until all of the ingredients are combined.  Mix on medium for about 5 minutes to knead the ingredients together.  If dough is too moist add a little more of the all-purpose flour.

Turn out onto a lightly floured board and knead gently.  Shape into a ball and place in a lightly greased bowl.  Leave to rise for 2 hours.

To shape loaves, scrape risen dough onto a lightly floured surface and press it to deflate it. Divide dough in half and shape one piece at a time. Press dough into a square, then roll it up tightly. Rotate cylinder of dough 90 degrees and roll up again from short end. Arrange dough seam side down, cover with plastic or a towel and let it rest of 5 minutes. Repeat with remaining piece of dough.

Dust pan with cornmeal. Roll each piece of dough under palms of your hands to elongate it. Work from middle of loaf outward, pointing the ends slightly. Place loaves seam side down on cookie sheets and dust each loaf heavily with flour, using about 1/4 cup in all. Cover with plastic or a towel and allow to rise until doubled.

About 30 minutes before you intend to bake the loaves, preheat oven to 500 degrees F and set racks at the middle and lowest levels. Set a pan on the lowest rack to absorb some of the excess bottom heat and keep the bottom of the loaves from burning.

Holding a razor blade or the point of a very sharp knife at a 30-degree angle to the top of each loaf, make 3 to 4 diagonal slashes in each loaf. Immediately place loaves in oven and lower temperature to 450 degrees F. After loaves have baked for 20 minutes and are completely risen, lower temperature to 350 degrees F and continue baking about 20 to 30 minutes longer, until bread reaches an internal temperature of about 210-220 degrees F. Remove loaves from oven and cool on a rack.

Printable Recipe

Buckwheat Walnut Bread

July 29th, 2015

Walnut Bread 1

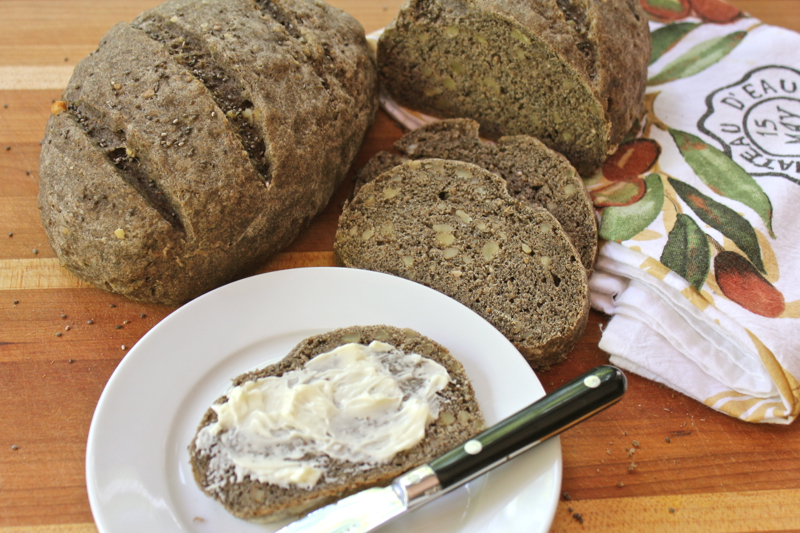
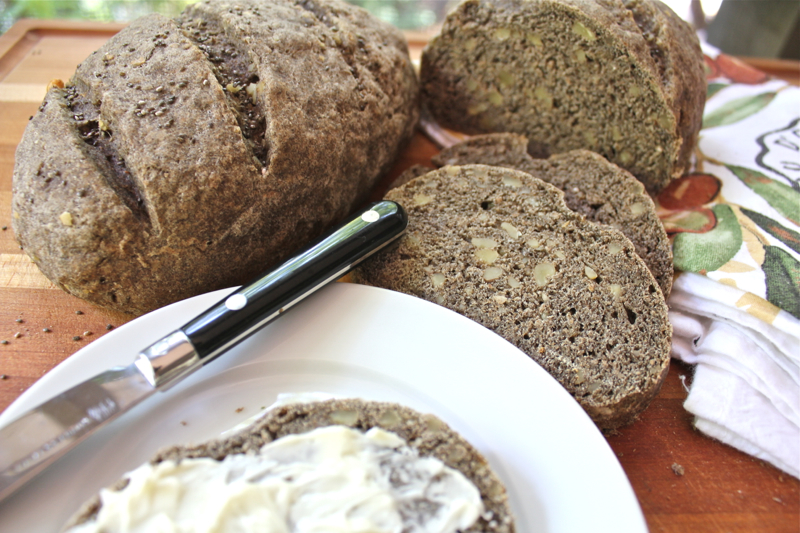
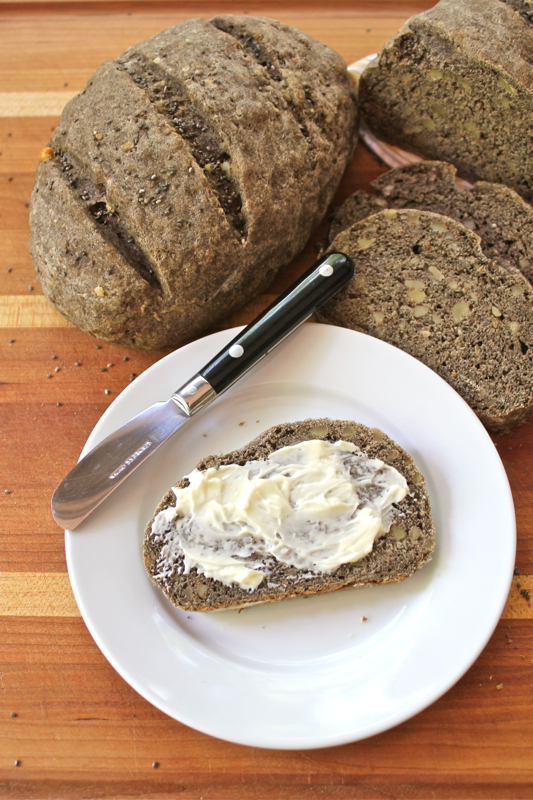
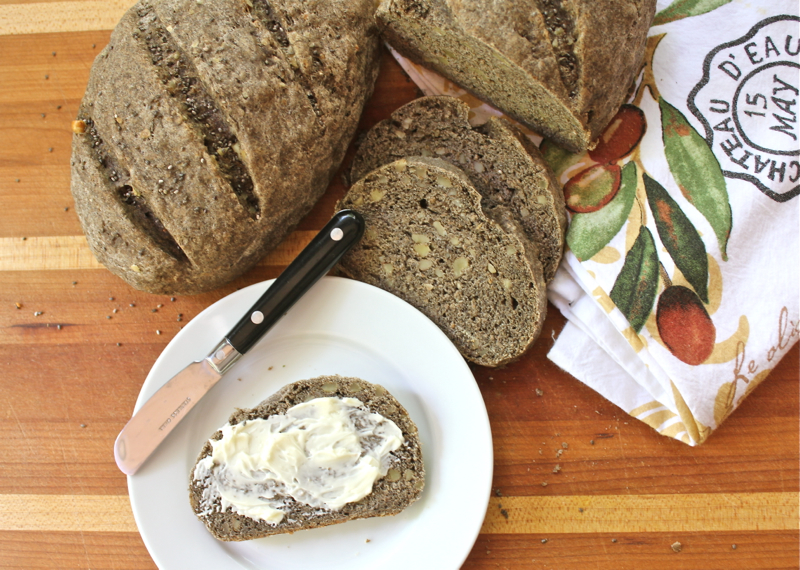
As much as we love to eat most foods, including fatty meats and desserts, there is always in the back of our minds the fact that we should be making healthier choices.  David has recently been diagnosed with type 2 diabetes.  Most of the meals that I cook are pretty healthy; lots of interesting salads and fish or poultry dishes.  But David decided to get really serious about eliminating carbs like white rice, pastas, breads, and potatoes.  I did a little research on bread flours to see if there was a way to make a bread that we could substitute for even the healthy whole wheat bread that we normally eat.  It turns out that buckwheat is a healthy alternative for people with diabetes.  Nuts and seeds are also recommended for a healthy diet.  Walnut Bread Close

While eating breakfast this morning, I was looking at a few of my newer cookbooks.  I pulled Katie Quinn Davies What Katie Ate On The Weekend from the shelf and found her recipe for Walnut Bread.  It had everything that I was looking for in a healthy yeast bread.  It took me just a half of an hour to throw all of the ingredients together and process the dough in my KitchenAid.  After two hours of rising, it was ready for the oven.

Walnut Bread 3VAs it baked, David said “You are killing me”.  The smell was amazing and he assumed that I was just cooking it for the blog (My second child, my the way).  When I told him that it was really good for him, he reluctantly tasted the still warm bread.  I did not smear the amount of butter on it that you see here, but even with just a flick of butter it was delicious.  This bread is moist, nutty and just darn good.  Not only does it include buckwheat flour, but it also has lots of walnuts, wheat germ, chia seeds and hemp hearts (my addition). He will be eating it in moderation and I will try to do the same, but I have to say that it is one of those breads that will make you sit up and take notice.

Walnut Bread 2

Enjoy!

BUCKWHEAT WALNUT BREAD ( What Katie Ate on the Weekend by Katie Quinn Davies )

2 teaspoons light brown sugar
2 teaspoons active dried yeast
4 tablespoons olive oil
2 cups all-purpose flour, sifted
1 cup buckwheat flour, sifted
2 1/2 tablespoons wheat germ
1 3/4 cup walnuts, toasted and finely chopped
2 tablespoons chia seeds, divided
2 tablespoons hemp hearts (my addition, optional)
sea salt and freshly ground black pepper
1 tablespoon unsalted butter, melted

Makes 2 small loaves

Combine the sugar, yeast and 1/2 cup warm water in a large bowl or bowl of a Kitchen Aid mixer.  Leave to stand for 10-12 minutes until frothy.  Stir in the oil and another 2/3 cup lukewarm water, then add the flours, wheat germ, walnuts, half of the chia seeds, hemp hearts and 1 teaspoon salt.  Stir to combine or using dough hook of mixer blend together.  Either turn out onto a floured board and knead for 5 minutes or mix in stand mixer for 5 minutes.  Place in a clean greased bowl, set in a warm place and let rise for 2 hours.

Preheat the oven to 425 degrees F. and sprinkle flour over a large baking sheet.

Turn the dough out onto a clean floured countertop and knead once or twice to knock out the air. Divide in half and shape into two loaves.  Place on the prepared sheet, then cut three evenly spaced, 1/2 inch deep slashes on an angle across each loaf.  Brush the tops with melted butter and scatter over the remaining chia seeds.

Bake for 20-25 minutes or until golden and the bases sound hollow when tapped.

Printable Recipe


© Penny Klett, Lake Lure Cottage Kitchen. All rights reserved.