Orange Zest Cornmeal Cake

March 9th, 2015

Cornmeal Cake 4

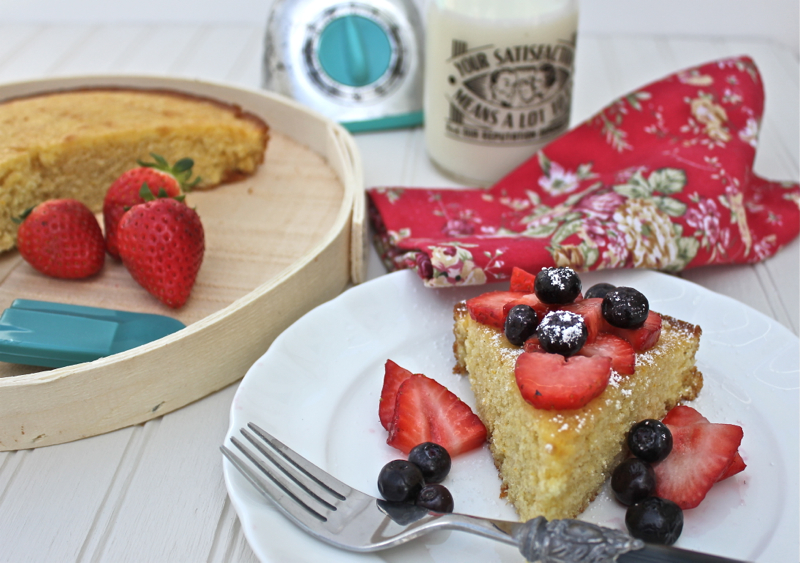
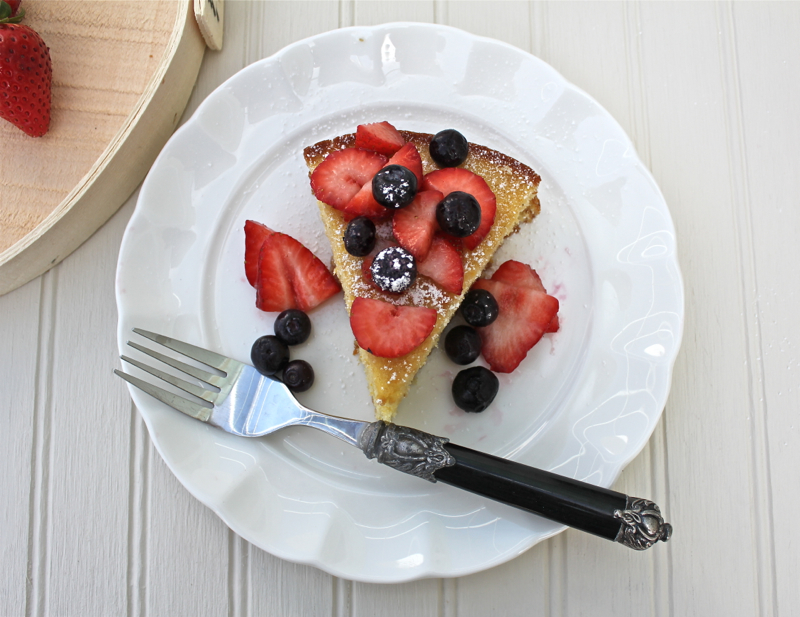
It is strawberry time in Florida.  I wanted to make a simple cake to showcase berries.  This flavorful cake was the perfect vehicle.  It is citrusy with the orange zest and a bit crumbly with the cornmeal.  I really love this easy cake; so much so, that I am going to be making it from now on for strawberry shortcake, a simple tea cake, or served with ice cream.  David ate it last night with chocolate sauce.

Cornmeal Cake 3V

Yummy cake indeed.  Even if baking is not your thing, this is so quick and easy that you cannot fail.

Cornmeal Cake 1 Close

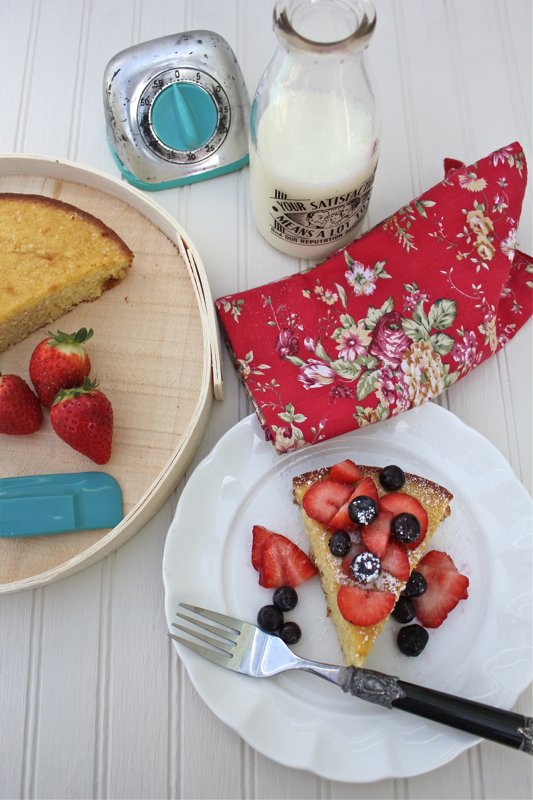
On another note, the light is returning.  It may not be Spring yet, but we bloggers tend to have an eye for the quality of light.  I have been struggling all winter trying to take good pictures in less than perfect light.  The shift in the angle of the Sun has improved my photography.  Spring shows itself in subtle ways.  Some sense it in the smell of fresh soil and the warming air currents.  Some sense it by listening to new bird calls and some, like me, can feel it in the light.  May this returning light brighten your days.

Cornmeal Cake 2 close

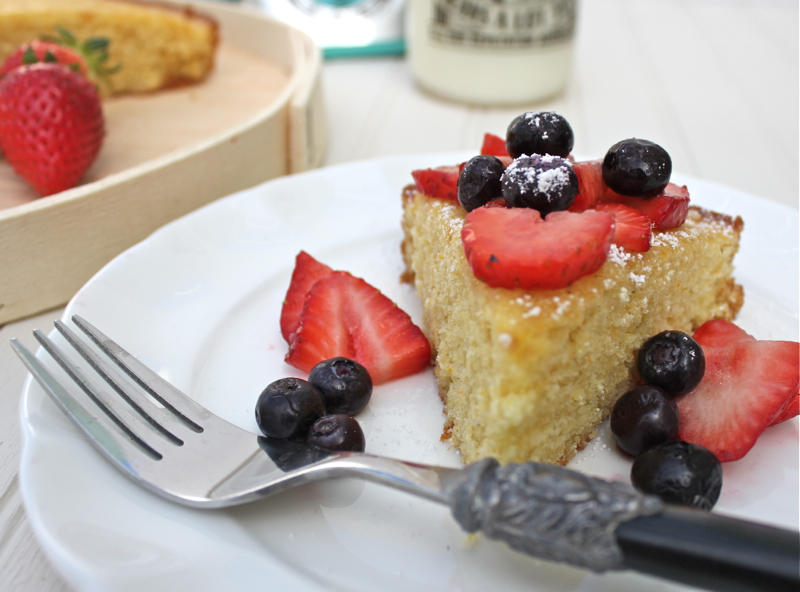
This cake will also brighten your days.

ORANGE ZEST CORNMEAL CAKE

1 cup all-purpose flour
1 1/2 teaspoons baking powder
1/4 teaspoon salt
1/2 cup (1 stick) butter, at room temperature
1 cup sugar
2 teaspoons grated orange rind
1 teaspoon vanilla extract
2 eggs
1/3 cup yellow cornmeal
1/2 cup milk

Preheat oven to 350 degrees F.  Grease a 9-inch round cake pan with butter.  Add a round of parchment paper and grease again with butter.

Combine flour, baking powder and salt.  Combine butter, sugar, orange rind and vanilla in a stand mixer.  Blend on medium speed until well combined.  Add eggs one at a time, beating after each addition.  Reduce speed to low and add flour mixture and cornmeal alternately with milk, beating just until evenly incorporated.  Scrape into prepared pan, spreading evenly.

Bake 30 minutes or until a tester inserted in the middle comes out clean.  Cool in pan on wire rack.  Invert, remove parchment paper and flip to top side. Slice and serve when cool.

Printable Recipe

Raspberry and Blueberry Tiramisu

July 3rd, 2014


Raspberry Tiramisu 2


Happy 4th of July everyone!  This is the dessert that I will be serving to the family for the holiday.  It is a trifle of lady fingers, raspberry jam, berries and mascarpone whipped cream.  In a traditional tiramisu the lady fingers are soaked in espresso topped with marsala and mascarpone cream.  Chocolate is sprinkled on the top.  In this lighter version, the lady fingers are soaked in a Grand Marnier raspberry jam and the berries are added instead of chocolate.  I even took it a step further by using orange juice instead of Grand Marnier.  We have lots of kids at our party and I don’t think they would appreciate the alcohol.

Raspberry Tiramisu 1


The great thing about this dessert is that has to be made ahead of time.  The longer it sits the better it gets.  It couldn’t be simpler.  Enjoy your holiday.

RASPBERRY AND BLUEBERRY TIRAMISU (Adapted from Giada De Laurentiis)

1 12 ounce jar of seedless raspberry jam
6 Tablespoon Grand Marnier or Orange Juice
1 pound Mascarpone Cheese, at room temperature
1 cup heavy cream
1/4 cup granulated sugar
1 teaspoon vanilla extract
48 soft ladyfingers (2 3-0unce packages) or 40 dry Italian Ladyfingers (2 packages)
3 baskets fresh raspberries (1/2 dry pint, about 3 3/4 cups total)
A handful of blueberries

Stir together the jam and 4 tablespoons of Grand Marnier or orange juice in a small bowl to blend.

Stir together the mascarpone and remaining 2 tablespoons of Grand Marnier or orange juice in a large bowl to blend.  Using an electric mixer, beat the cream, granulated sugar, and vanilla in another large bowl until soft peaks form.  Using a large rubber spatula, stir a fourth of the whipped cream into the mascarpone mixture to lighten.  Fold the remaining whipped cream into the mascarpone mixture.

Line the bottom of a 13x9x2-inch glass baking dish or other decorative serving dish with a third of the ladyfingers.  Spread a third of the jam mixture over the ladyfingers.  Spread a third of the mascarpone mixture over the jam mixture, then cover with a third of the fresh raspberries.  Repeat layering with the remaining ladyfingers, jam mixture, mascarpone mixture, and raspberries.  Cover and refrigerate at least 3 hours of overnight.

Dust confectioners’ sugar over the top if desired and serve.

Printable recipe

Lemon-Lime Blueberry Squares

June 1st, 2014

Lemon-Lime Blueberry Squares

When was the last time you actually went on a picnic?  I’m sure many of you still find the time to do it.  But it just occurred to me that it has been years since we have loaded up a picnic basket and headed out for a day in the countryside.  We used to love to take David’s TR 8 convertible for a ride along the Blue Ridge Parkway and stop at overlooks with a view of the mountains.  We would spread a blanket and pull out our picnic fare and just relax for a while.  But now that we live at the lake, it is just as easy to sit on the porch and eat at home.

Lemon-Lime Blueberry Squares 3

After making this dessert with a shortbread crust, a lemony filling and the blueberry topping, it came to mind that it would be perfect picnic fare.  Because it is baked in a foil package it would be easy to transport.  So now I am thinking of going on a picnic.

Lemon-Lime Blueberry Squares 1


This dessert from Gourmet magazine would be the perfect ending to the meal.  It is refreshing and simple.  You can almost pick it up and eat it with your hands except for a few errant blueberries rolling free.  I came up with a picnic menu that I think everyone would enjoy.

SUMMERTIME PICNIC IN THE COUNTRYSIDE

Sweet-Ham and Havarti Sandwiches with Orange Pecan Mustard
Broccoli, Apples and Red Onion Salad
Hawaiian Macaroni Salad
Lemon-Lime Blueberry Squares

The highlighted recipes can be found by clicking on them.  Here is the dessert recipe.

LEMON-LIME BLUEBERRY SQUARES (Gourmet Magazine)

For Crust:
1/2 cup all-purpose flour
3/4 cup yellow cornmeal
6 tablespoons confectioners sugar
1/2 teaspoon salt
1 stick cold unsalted butter, cut into pieces

For filling:
3 large eggs
1/2 cup granulated sugar
1 1/2 tablespoons all-purpose flour
1/2 teaspoon finely grated lemon zest
1/2 teaspoon finely grated lime zest
1 tablespoon fresh lemon juice
1 tablespoon fresh lime juice
2 tablespoons whole milk
2 cups blueberries (10 oz.)
3 tablespoons apricot jam, heated and strained

Preheat oven to 375 degrees F.  Line a buttered 8-inch glass baking dish with 2 (18-by-6-inch) sheets of foil, overlapping them in opposigte directions so that there is overhang on all 4 sides.

Pulse together flour, cornmeal, confectioners sugar, salt and butter in a food processor until mixture resembles coarse meal.  Press onto bottom of baking dish and 1 inch up sides.  Bake in middle of oven until golden brown, about 20 minutes.

Whisk together eggs, sugar, flour, and zests.  Whisk in juices, milk, and a pinch of salt.  Toss blueberries with jam in another bowl.

Whisk egg mixture and immediately pour into hot crust, then bake until just set, about 17 minutes.  Gently spoon berries evenly over top and bake 2 more minutes more.  Transfer baking dish to a rack and cool.

Chill, covered, overnight (8 hours).  Use foil to lift dessert out of dish, then cut into squares.

Printable recipe


Raspberry Tart for the 4th of July

July 6th, 2012

We are back from our travels.  I have many more pictures and adventures to share with you but decided to give you a break –  vacation picture overload, so to speak.  We had a great 4th of July with the kids.  Granddaughter Rachel had fun jumping off of the dock and we all enjoyed the fireworks from the boat.

We cooked chicken and hamburgers on the grill; pretty standard holiday fare.  But I couldn’t resist making a French inspired dessert.  One of the delights of being in France is visiting patisseries in every town.  The raspberry tarts are near perfection.

For this recipe I combined several different ideas.  The crust is so easy.  It is a cookie crust and is easy to pat into the tart pan.  The step by step directions are here.  The pastry cream comes from Laura Calder of the Cooking Channel show French Food at Home.  You can find the recipe here.  The raspberries and blueberries were arranged on the top for a finishing touch.  Sprinkle with powdered sugar if you prefer.

This tasted so good on a HOT summer night.

Magic Bars

February 11th, 2012

This was a hit with the Hubs.  “What have you made ?”  he said, tasting.  “Holy sh#*t  Moly, these are good.”   What about the diet?”  ” Not to worry”, I said.  “These are for friends, not us”.  Weeping sounds.  “OK, maybe you can have just one more”, I replied.

I have to admit that these Magic Bars are something special.  The recipe has been around for a long time, but I had never heard about them before.  Last Christmas David bought me a cookbook at the suggestion of one of my OBFFC (Oldest Best Friend From Childhood).  Thanks Lyla!  She suggested the Neiman Marcus Cookbook and it has some terrific recipes in it.

The Magic Bars are nothing more than a layer of buttered graham cracker crumbs, chocolate chips, shredded coconut and nuts.  A can of sweetened condensed milk is drizzled over the top and they are baked until the chocolate is oozy and the crust is browned.

We are going out to dinner with a group of friends Sunday night to celebrate and they will each get a box of goodies.  Happy Valentine’s Day.

MAGIC BARS (Adapted from The Neiman Marcus Cookbook)

1 1/2 cups graham cracker crumbs
1/2 cup (1 stick) butter
1 14 ounce can sweetened condensed milk
2 cups chocolate chips
1 1/2 cups coconut
1 cup chopped pecans, walnuts or peanuts

Preheat oven to 350 F (325 F if using glass pan)

Melt butter and mix with graham cracker crumbs.  Pat mixture into a greased 13×9-inch baking dish.

Sprinkle chocolate chips over crust, then coconut, then nuts.  Pour the condensed milk evenly over pan.

Bake for 25 minutes or until lightly browned.  Let cool before cutting.

Store in fridge, or cut into pieces and freeze.

Printable recipe

© Penny Klett, Lake Lure Cottage Kitchen. All rights reserved.