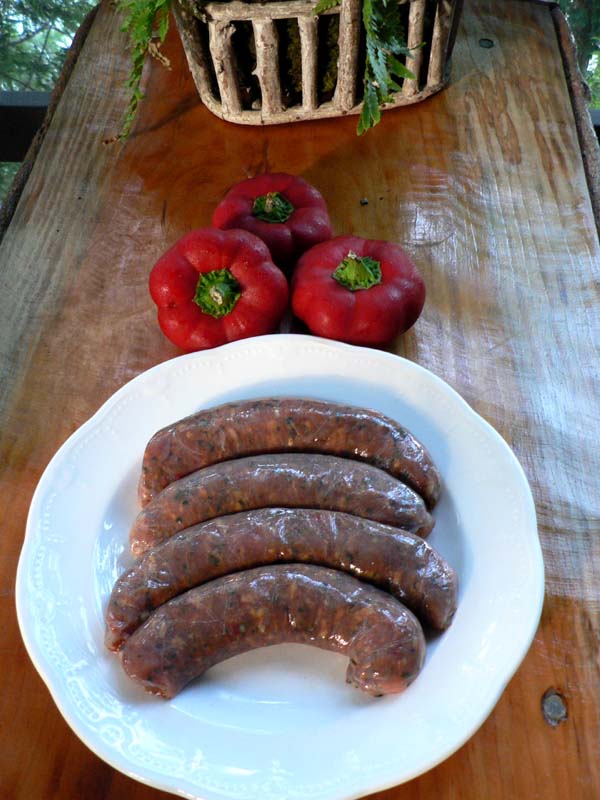
Situated in a remote area of southwestern Washington, down a winding country road, lies The Inn at Crippen Creek Farm. The first sight that greets you as you enter the pebbled drive is the goat pen with fresh-faced goats curious about your passing. Then you see the pig enclosure and are further greeted by scampering chickens as the beautiful yellow farmhouse comes into view. After a long bike ride from Port Angeles, Washington, it was like arriving home. And that is just what Don and Kitty Speranza have created here; a home away from home for weary travelers.

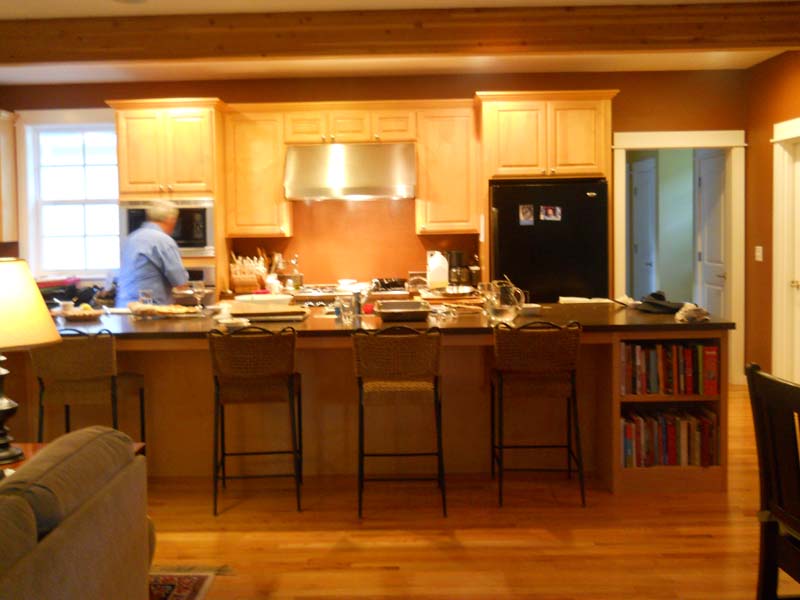
The Inn at Crippen Creek is outside the small town of Skamokawa, Washington and close to Astoria, Oregon, the Columbia River and Puget Island. The area is popular with kayakers, fishermen and nature lovers alike. Because it is so isolated, with prior arrangements, Kitty and Don will provide their guests with dinner as well as the expected breakfast. I knew this before we arrived. But what I didn’t know was that both Don and Kitty are passionate about cooking. They are part of the Slow Food Movement and former caterers in Portland, Oregon. They grow much of their own food and offer cooking classes in their gourmet kitchen.
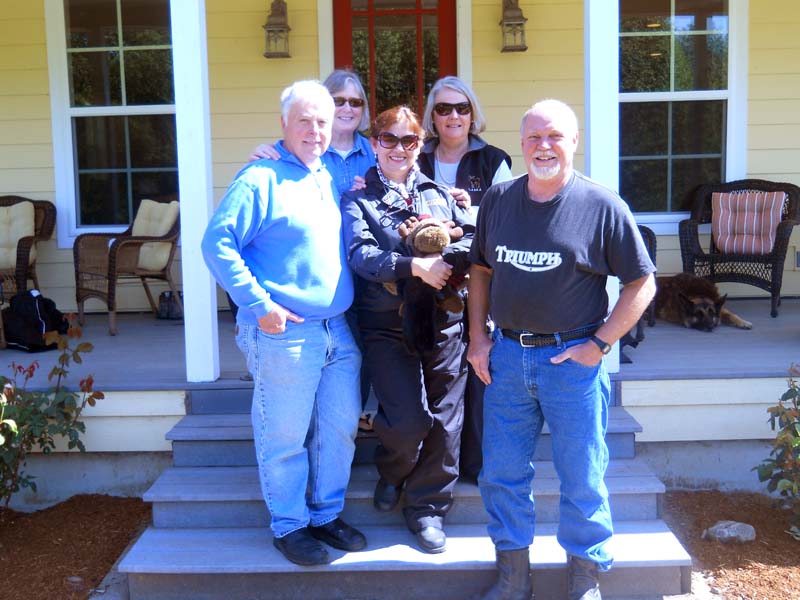
We were not the only guests at dinner that evening. A writer and a photographer from Sunset magazine and their guests were also at the table. It made for lively conversations. Also, I had fun taking pictures of the food with my point and shoot camera while next to the photographer, Joshua, with his professional equipment.

Over wine and hors d’oeuvres on the porch, Don mentioned that the dinner to come was inspired by Thomas Keller’s wonderful cookbook, ad hoc at home. Thomas Kelller’s other two cookbooks, The French Laundry Cookbook and Bouchon are complex and sometimes intimidating to the home cook. But ad hoc was written specifically for the home cook. It is full of recipes that are part of the family (meaning staff) meals prepared at the restaurants. Thomas Keller has opened his Ad Hoc Restaurant down the street from his famous French Laundry Restaurant in Yountville, CA to showcase such dishes as fried chicken, pork ribs and other comfort foods. Our meal may have been comfort food, but it was anything but simple. It was, in a word, sublime.

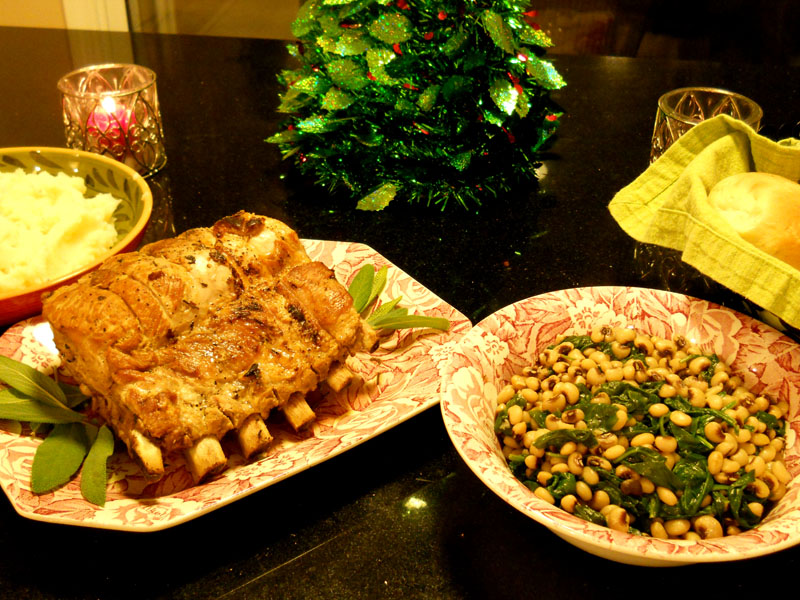
The menu included Salmon Cakes made with fresh caught sockeye salmon, Potato Pave’ (resembling paving stones), and Sauteed Rainbow Chard with Pine Nuts, Golden Raisins and Serrano Ham. Don had prepared most of the meal ahead of time and only had to saute the salmon cakes, give the potatoes their final browning and warm the chard dish before we sat down for dinner.
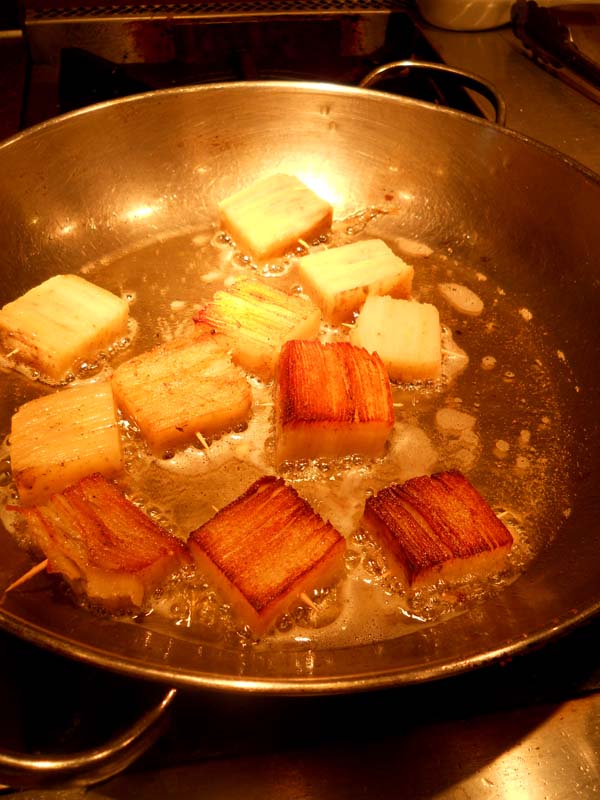
The most complicated dish on the menu was the potato pave’. This glorified scalloped potato dish requires time and involves several steps but the crunchy, buttery results are worth every minute and hour spent on it. Reading the recipe, the procedure of stacking wafer thin potato slices was not immediately clear to me, but the video of Thomas Keller preparing the dish on the Martha Stewart Show makes it abundantly clear. Click on this link to find the video.
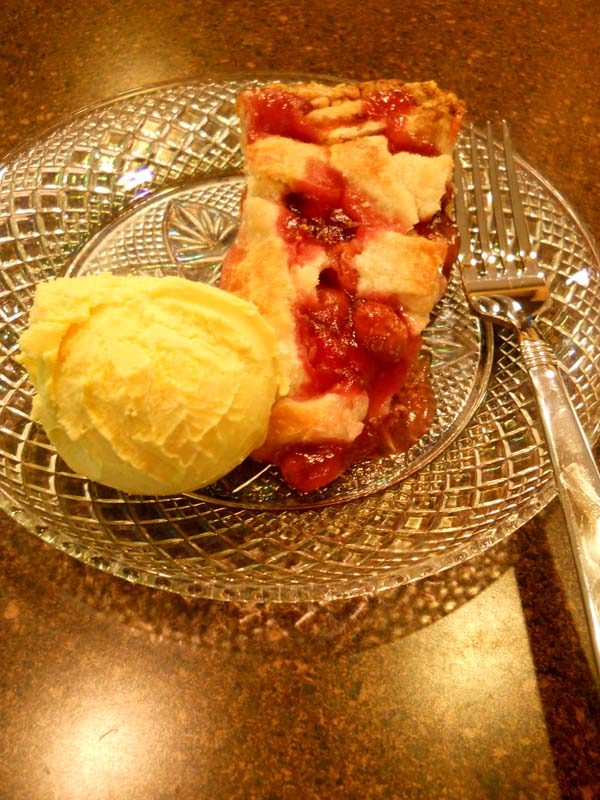
Even dessert was a labor of love. Kitty made a cherry pie from fresh cherries and Don made homemade buttermilk ice cream. They are a collaborating force to be thankful for. Our bedrooms with lush linens were just as welcoming after a long day and full stomachs.
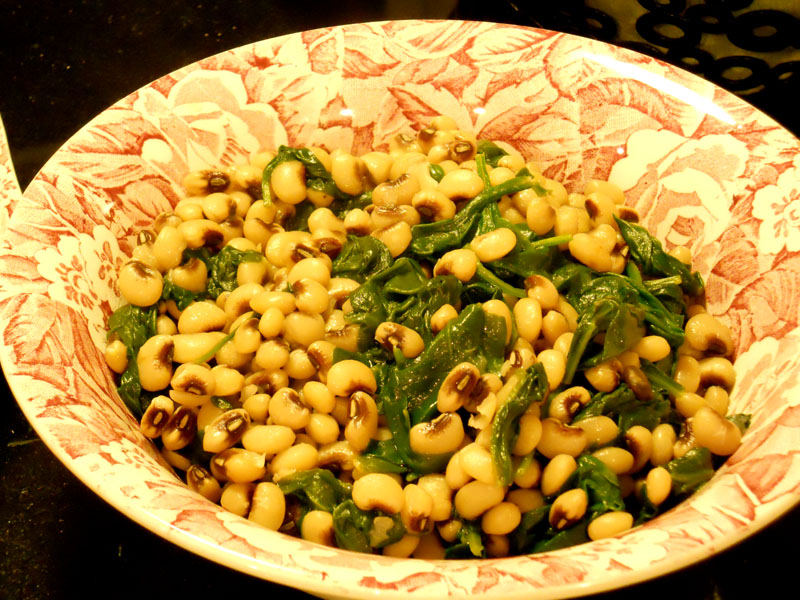
Our breakfast the next morning included farm fresh scrambled eggs, bacon from the pigs raised on the farm, home fries, cheddar buttermilk biscuits, and fresh blackberries with panna cotta sauce. It was difficult to leave such wonderful hosts ( I should say friends) with whom we had so much in common. If you are ever in the area, this is an experience not to be missed. Here are a few more pictures of the farm.
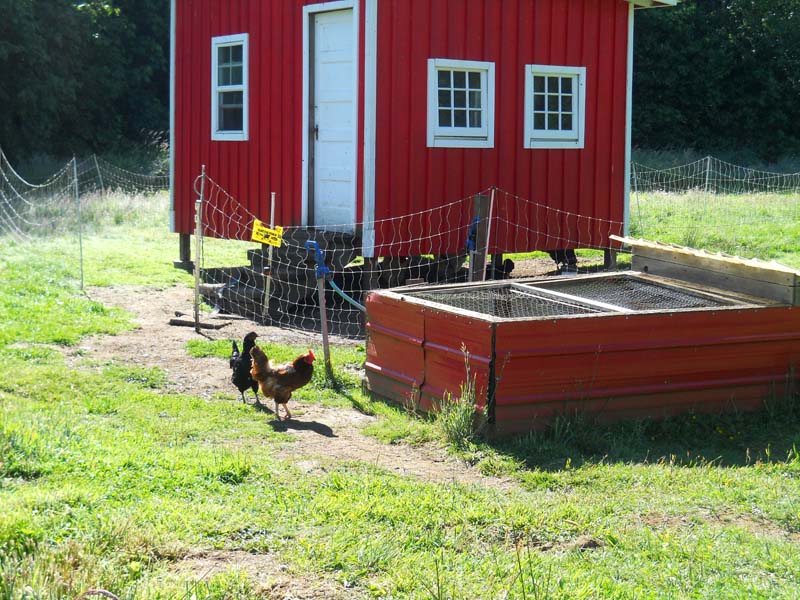
The free range chickens.
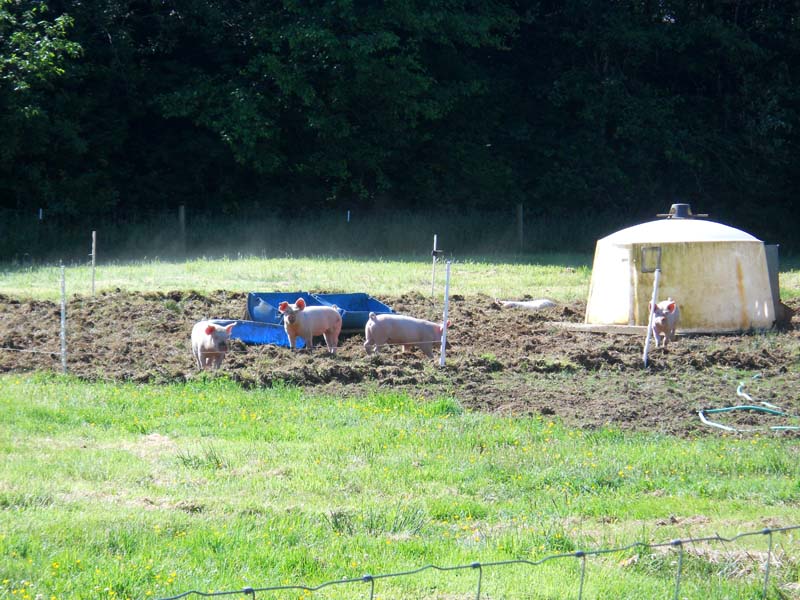
The wily pigs.
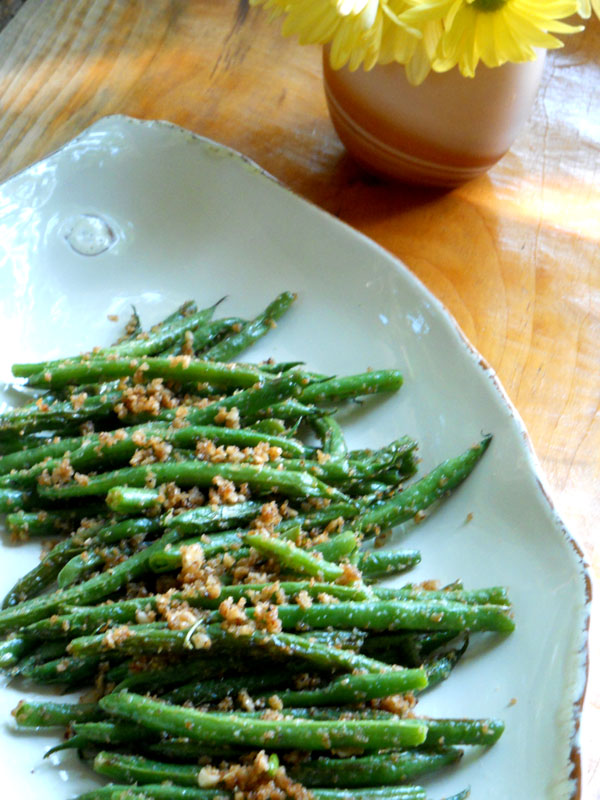
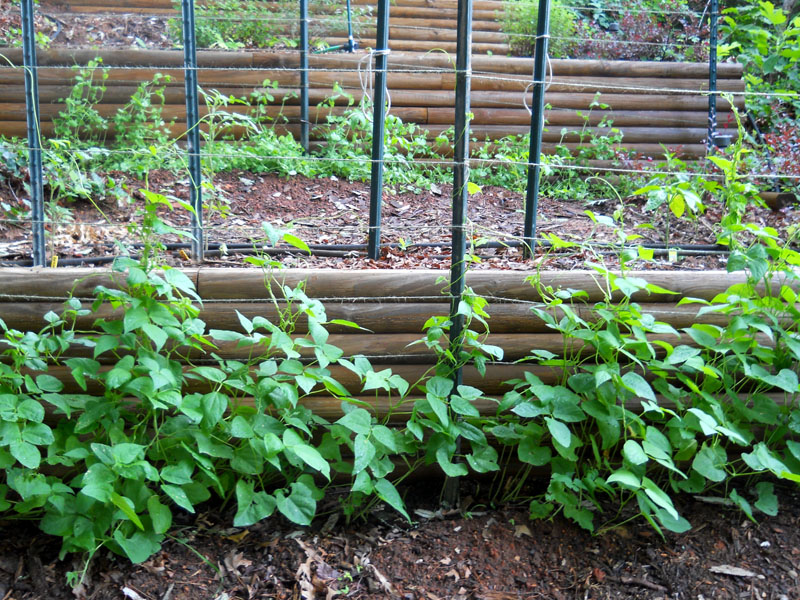
The garden.
Here are the recipes from our Thomas Keller inspired dinner. Also visit The Inn at Crippen Creek Farm website for more of Don and Kitty’s recipes and information about the Bed and Breakfast.
SALMON CAKES
1 1/2 teaspoons unsalted butter
2 tablespoons finely diced onion
2 tablespoons finely dicd red bell pepper
1 garlic clove
1 1/4 pounds cooked wild sockeye salmon, chopped into small pieces
1/4 cup mayonnaise
pinch of cayenne pepper
1 teaspoon Worcestershire sauce
1 teaspoon Dijon mustard
1 teaspoon finely chopped flat-leaf parsley
1 teaspoon Old Bay seasoning, or to taste
1 teaspoon kosher salt
1 tablespoon fresh lemon juice
2 1/2 cups panko crumbs
1 large egg
Canola oil
Position two oven racks in the lower and upper thirds of the oven and preheat the oven 350 degrees F.
Melt the butter in a small saucepan over medium heat. Reduce the heat to medium-low and add the onion and pepper. Grate the garlic with a Microplane grater directly into the pan (or mince it and add it). Cook, stirring often, until the onion and pepper are tender, about 5 minutesw. Remove from the heat and let cool completely.
In a large bowl, whisk the mayonnaise with the Worcestershire, mustard, parsley, Old Bay, salt, and lemon juice to combine well. Stir in 1/2 cup of the panko crumbs and the onion mixture. Gently fold in the cooked salmon.
Put the remaining 2 cups panko crumbs in a shallow bowl. Divide the salmon mixture into 12 equal portions. One portion at a time, gently shape the mixture into a ball (the mixture is very delicate because there is only a small amount of panko in it), roll gently in the panko to coat, and shape into a slightly flattened ball about 2 inches in diameter and 1 inch thick. Add a bit more panko as needed to coat, and set on a plate.
Heat some canola oil in each of two large ovenproof frying pans over medium heat until it shimmers. (If you don’t have two pans, cook the cakes in batches and transfer to a rack set over a baking sheet, then finish in the oven.) Add the cakes, pat down gently, still maintaining the rounded shape, and cook until golden brown on the first side, about 5 minutes. With a spatula, gently turn each salmon cake over and cook on the second side for another 5 minutes, or until golden brown. Transfer the pans to the oven and cook for 2 to 3 minutes, to ensure that the salmon cakes are hot throughout.
Line a small baking sheet with paper towels. Transfer the salmon cakes to the towels to briefly drain. Arrange the salmon cakes on a serving platter and serve with remoulade or your favorite sauce.
POTATO PAVE’
1 cup heavy cream
Kosher salt and freshley ground black pepper
3 pounds russet potatoes (three 1-pound potatoes if possible)
5 tablespoons unsalted butter, 1 tablespoon softened and 4 tablespoons cut into 1/2-inch cubes
Canola oil
2 thyme sprigs
2 garlic cloves, lightly crushed, skin left on
Minced chives
Preheat the oven to 350 degrees F.
Pour the cream into a large bowl and season with 1 teaspoon salt and 1/2 teaspoon pepper. Peel the potatoes. Cut a thin lengthwise slice off one side of a potato so it will rest flat on the mandoline. Lay a Japanese mandoline or other vegetable slicer over the bowl of cream and slice the potato lengthwise into very thin (about 1/16 inch) slices, letting them drop into the cream. (If you can’t lay your mandoline across the bowl, slice the potatoes, adding the slices to the cream as you go.) Stop from time to time to toss the slices in the cream to keep them coated and prevent them from oxidizing. Repeat with the remaining potatoes.
Brush a 10-by-6 1/2-by-3-inch high pan with half the softened butter. (Don’t use a shallower pan – you need the depth this size pan gives the pave’.) Line with parchment paper, leaving a 5- inch overhang on the two long sides. These extensions will be used to cover the potatoes as they cook and later serve as handles when unmolding. Brush the parchment with the remaining softened butter and sprinkle with salt and pepper.
Trim the potato slices to form a solid even layer in the bottom of the pan and lay them in the direction that works best to fill the pan. Repeat to form a second layer. Dot with a few cubes of butter and sprinkle lightly with salt and pepper. Continue layering the potatoes, adding butter and seasonings after each two layers. Fold over the sides of the parchment to cover the potatoes. Cover tightly with a piece of aluminum foil (to allow the potatoes to steam as they bake).
Bake the potatoes for 1 hour and 50 minutes, or until completely tender when pierced with the tip of a knife or a wire cake tester. Remove from the oven and let cool for 15 minutes. Put a weight on top of the potatoes (see Note), cool to room temperature, wrap well, and refrigerate for at least 6 hours, or up to 2 days.
To serve, run a palette knife around the two longer sides of the pave’ to release it from the pan, and use the parchment handles to lift the potatoes from the pan, or invert onto a cutting surface. Trim all sides of the pave’. Cut the pave’ into 12 equal pieces and let sit at room temperature for 30 minutes.
Heat some canola oil in a large frying pan over medium-high heat. Add the potatoes cut-side-down, add the thyme and garlic, and cook, basting with the liquid in the pan, until browned on the first side, then turn carefully and brown the opposite side.
Arrange the potatoes on a serving platter, browned side up. Put a small piece of butter on each piece to melt, and sprinkle with chives.
Note: The easiest way to weight the pave’ is to cut a piece of cardboard just smaller than the top of the pan, so that it will cover the top of the pave’ without resting on the sides of the pan. Wrap the cardboard in aluminum foil, set it on top of the pave’, and place a few cans or other weights on the cardboard for even weight distribution.
RAINBOW CHARD
2 tablespoons pine nuts
Kosher salt
4 to 5 pounds rainbow chard
About 1/4 cup cup canola oil
2 tablsespoons finely chopped garlic
1 ounce thinly sliced serrano ham, cut crosswise into 1/4-inch strips
2 tablespoons Wine-Steeped Golden Raisins (See Note)
Freshly ground black pepper
Preheat the oven to 350 degrees F. Line 3 baking sheets with parchment paper.
Spread the nuts on one of the oined pans and toast in the oven for about 10 minutes, until evenly browned. Remove from the oven, transfer to a plate, sprinkle with salt, and let cool.
Cut out the thick stems from the leaves of chard and set aside. Stack the greens in batches and cut crosswise into thirds; set aside. Trim the stems and cut them on the diagonal into 1-inch slices. You need 2 cups stems for this recipe (reserve any remaining chard for another use).
Bring a large pot of salted water to a boil. Add the chard stems and blanch until tender but still slightly resistant to the tooth, 3 to 4 minutes. Drain and spread on the second parchment-lined baking sheet.
Pour 1 1/2 tablespoons canola oil into each of two large saute pans and heat over medium heat (if you have only one large pan, cook the greens in 2 batches). Add 1 tablespoon of the garlic to each pan, reduce the heat, and cook over medium-low heat until softened but not colored, about 1 minute. Add one-quarter of the chard greens to each pan, season with salt (salt lightly if your ham is very salty), and cook for 3 to 5 minutes over medium to medium-low heat, until the chard wilts to about half its original volume. Add the remaining chard and cook until wilted and tender, 15 to 20 minutes total. Spread the greens, with their liquid, on the third lined sheet.
To serve, heat some oil in a large frying pan over medium-high heat. Add the ham and saute for about 45 seconds to crisp. Add the pine nuts and raisins and toss. Add the chard stems and greens, toss to combine, and heat through. Season to taste with salt and pepper. Transfer to a serving bowl.
Note: Wine Steeped Golden Raisins
3/4 cup golden raisins
1/4 star anise
1 whole clove
1/2 cup dry white wine, such as Sauvignon Blanc
Combine the raisins, star anise, and clove in a jar.
Bring the wine to a boil in a small saucepan. Pour over the raisins and let cool to room temperature. Let stand for 30 minutes, or cover and refrigerate for up to 1 month. Remove the star anise and clove before serving.
Printable Recipe Salmon Cakes
Printable Recipe Potato Pave’
Printable Recipe Rainbow Chard