Wild Rice, Cranberry, and Cornmeal Sourdough Bread

January 12th, 2021

Baking Bread. It is a wonderful thing to do when the world seems out of control. We are living in fraught times. Kneading bread and smelling the baking loaves does much to quiet the troubled soul.

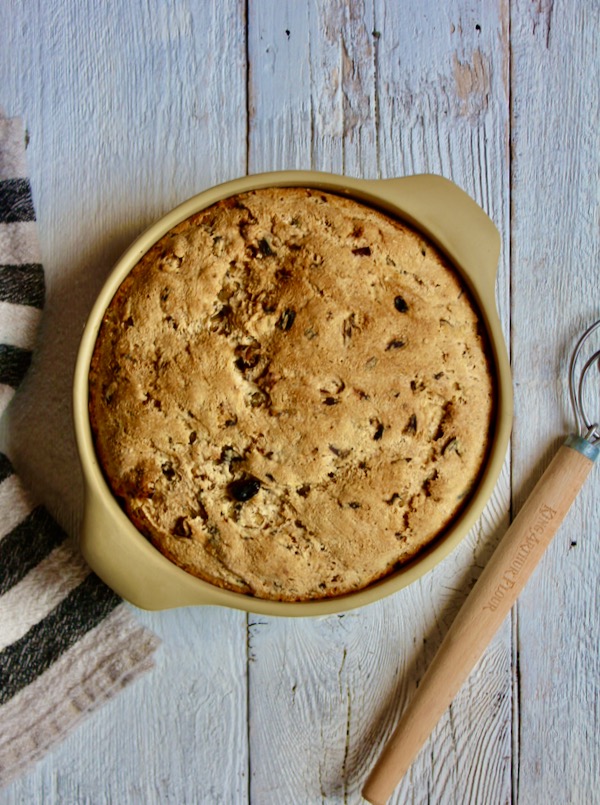
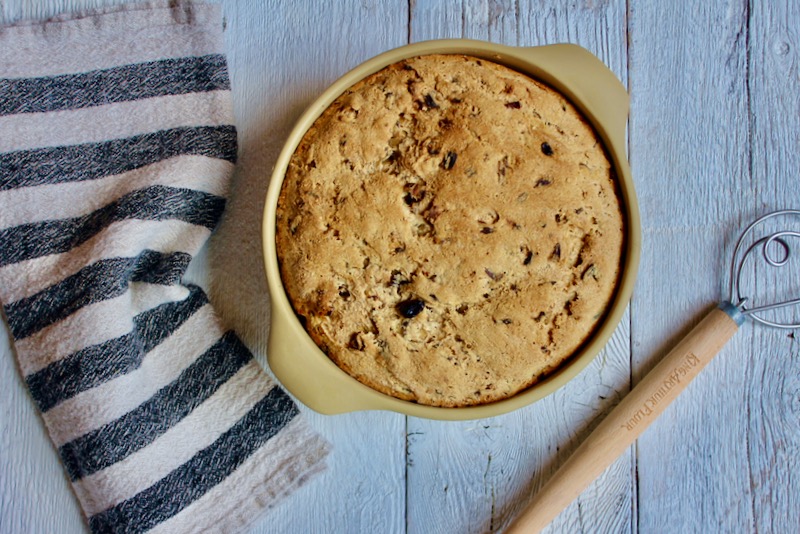
One of the things I was gifted with during Christmas was sourdough starter from my cooking-enthused Daughter-in-Law, Kristen. She has been baking bread for several months now and developed the starter from one of the best French bakeries in Cary, La Farm Bakery. I receive catalogs from King Arthur Flour and saw this recipe in their Christmas publication. It sounded unusual and a good recipe for my sourdough starter. They also featured a Bread Baking Bowl that is the perfect vessel in which to bake it.

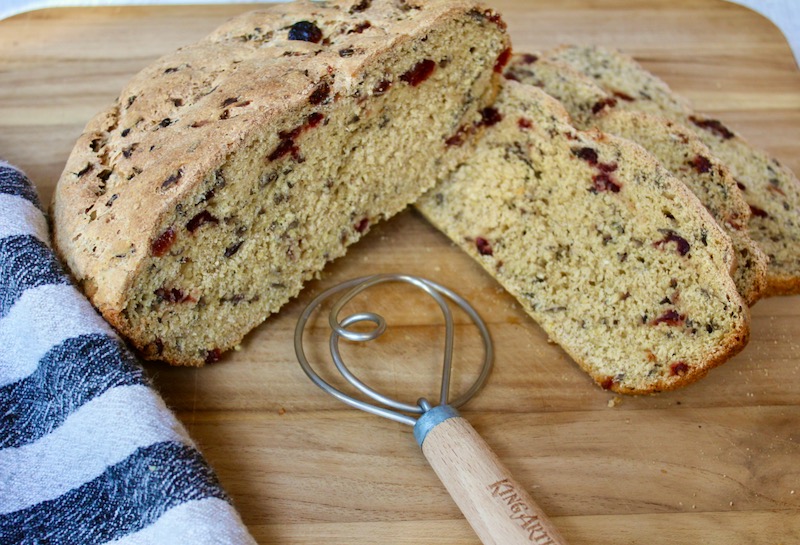
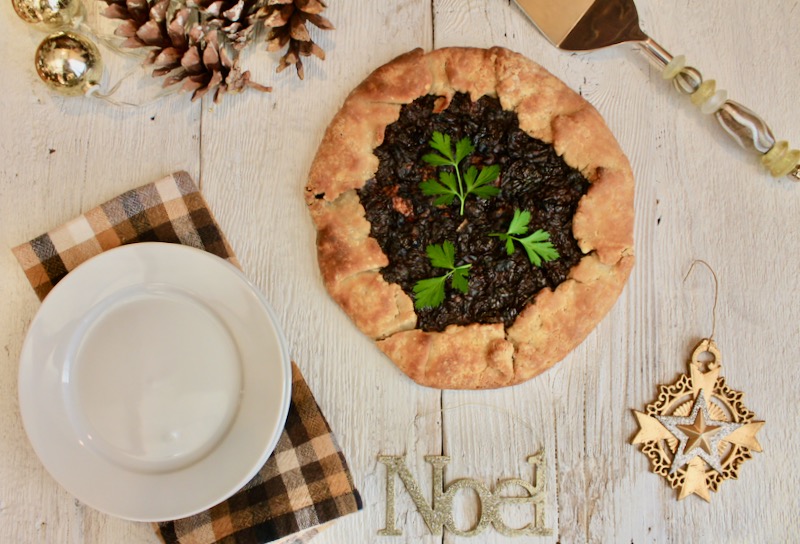
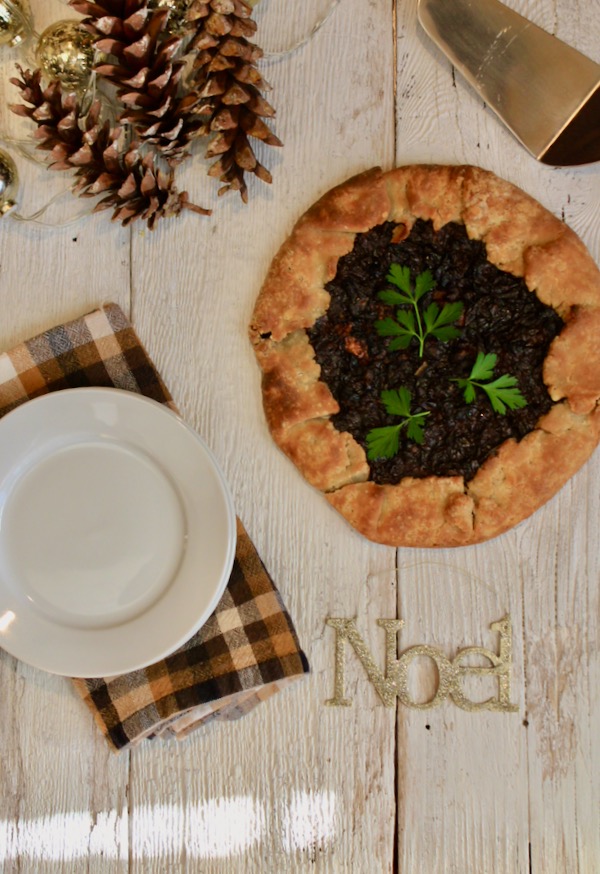
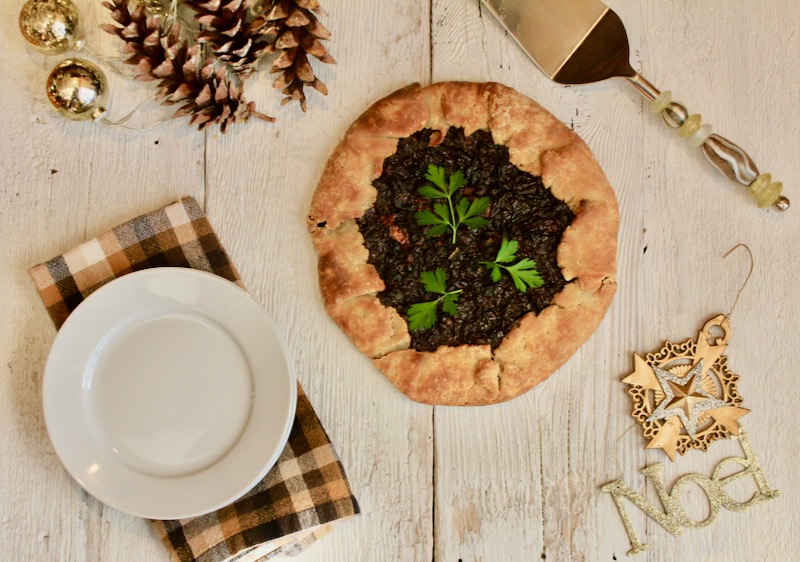
It makes a hearty loaf studded with sweet cranberries.

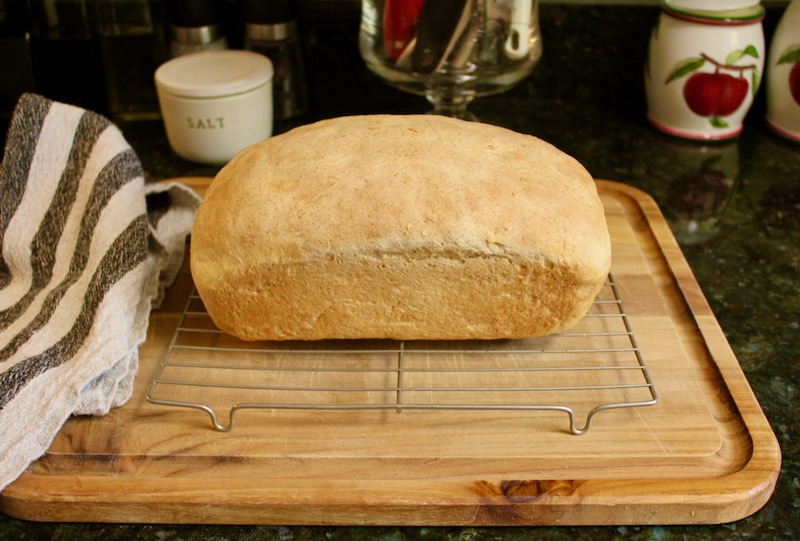
I have since made a simple Honey Wheat Bread. I have a feeling there will be lots of bread baking in my immediate future. Stay safe, healthy and sane during these perilous times.

Wild Rice, Cranberry, and Cornmeal Sourdough Bread

  1. In a large bowl, combine the starter, water, yeast, cornmeal, and flours. Mix and knead for 5 minutes. Cover and let rest for 20 minutes.
  2. Knead in the cooked wild rice, salt, and dried cranberries. Knead by hand for 6 minutes, or for about 3 minutes using a stand mixer. Or place in a bread machine programmed to the dough cycle. Cover and let rise for 45 minutes (or let the bread machine finish its cycle).
  3. Turn the dough out and fold it in thirds. Return it to its container, cover, and let rest for 20 minutes.
  4. Shape the dough into a round or oval and place, seam side up, in a basket or bowl lined with a damp tea towel heavily sprinkled with cornmeal. Let rise for 1 1/2 to 2 hours; or cover and refrigerate overnight.
  5. One hour before you’re ready to bake, preheat the oven (with a baking stone on the middle rack, if you have a stone) to 475°F. If the dough was chilled overnight, take it out of the refrigerator before turning the oven on. Set up a shallow, stovetop-to-oven pan or skillet with 1″ of water in it.
  6. When the dough looks puffy (it won’t necessarily double in size), bring the pan of water to a simmer on the stove and place it in the oven below the baking stone. Turn the loaf out of the towel onto a piece of parchment on a peel (or onto a baking sheet, if you’re not using a stone). Slash the top from end to end, 1/2″ deep, with a sharp knife. Slide the dough and parchment onto the stone. If you have a spray bottle, spritz the inside of the oven 5 or 6 times before closing the door.
  7. Bake the bread for 35 to 40 minutes, until deep golden brown all over, and the center measures 195°F or higher when tested with a digital thermometer. The bottom will sound hollow when thumped.
  8. Remove the bread from the oven and cool on a rack before slicing.
  9. Store the bread, tightly wrapped in plastic, at room temperature for several days; freeze for longer storage.

Printable Recipe

Caramelized Onion Galette

December 12th, 2020

Serendipity; the occurrence and development of events by chance in a happy or beneficial way. My husband loves to cook. He has lots of time on his hands since we are staying pretty close to home. He recently set aside a few hours to make caramelized onions. He used a recipe from Vivian Howard in her new cookbook, This Will Make it Taste Good. Caramelized onions take time because they need to cook low and slow. The original use was to top a steak. But there were so many of them that I ended up with a stash in the refrigerator.

Thanksgiving included pie making. I made several rounds of pastry and ended up with extra. A light bulb moment happened and I put the two leftover ingredients together with delicious results.

This caramelized onion galette would make a perfect appetizer for the holidays. I added some Gruyere cheese to the onion mixture and was pleased with the results. The taste is reminiscent of French onion soup. It would also be great as a light supper with a salad. Serendipitous indeed.

Caramelized Onions

  • 4–5 large or 6–8 medium yellow or white onions
  • 1 Tbsp olive or vegetable oil
  • 1 tsp kosher salt
  1. Peel your onions and cut them in half through their stem ends—longways, if you will. Slice them thinly with the grain, following the line from root to stem rather than cutting the onion across its belly. This is actually important because slicing it the other way makes the path to silky onions a longer one.
  2. Once your onions are sliced, heat your skillet over medium-high heat and add the oil, then the onions and the salt. Let the onions sizzle for a couple minutes. Stir with a wooden spoon or a heatproof spatula and watch as they wilt for about 3 more minutes. At this point, reduce the heat to medium low. Put a lid on and step away for a few minutes. Give the onions a stir every now and then. You don’t have to stand over it like risotto, but don’t go for a walk around the block either. Caramelized bits will accumulate at the bottom and sides of the pan, and that’s good. Just scrape them up and stir them in. A little color building as you go is okay, but don’t rush to brown them. The point is to cook the onions gently, coaxing them through stages of raw, wilted, sweaty, soft, light brown, and finally deeply caramelized
  3. About 45 minutes in, remove the lid for the last time. They should be a light caramel color. Now, with the lid off, you will need to watch more closely and stir more frequently. At some point you may find that despite your best efforts some of the caramelized bits, verging on burnt, cling to the pan and threaten over all onion ruin. Do not fret! Just add a ½ cup or so of water and use its energy to help scrape up the stubborn but tasty film. Let the water cook out of course. When you’re smiling over a soft, creamy, fragrant pile of mahogany onions, you’re done. Makes 2 cups.
  4. Note:  Onions will keep in the fridge for a week and in the freezer for 3 months.

Assemble Galette

Mix 1 to 1 1/2 cups cooled onions with 1/2 cup grated Gruyere cheese. Heat the oven to 375 degrees. Roll pastry dough of your choice (Could use a store-bought pastry round) into a 10-inch circle on a sheet of parchment. Spread the cooled caramelized onions on the dough, leaving a 1- to 2-inch border. Fold the edges in, over the onions, transfer to a baking sheet and bake until the dough is golden brown and some of the onions have browned on the edges, 40 to 50 minutes, rotating the galette halfway into the baking process.

Printable Recipe

Duchess Potatoes

December 4th, 2020

These beautiful piped Duchess Potatoes make the perfect accompaniment to any holiday dinner. The added advantage is that you can pipe them ahead of time onto the baking sheets and bake them right before dinner.

Duchess Potatoes are mashed potatoes that are flavored with butter, cream, nutmeg and egg yolks. The potato mixture is put in a pastry bag using a star tip. My Daughter-In-Law made these over the Thanksgiving holiday and our 9 year old Grandson loved them. He said the crispy edges made the mashed potatoes delicious.

All of us are scaling back this Christmas. But we can still enjoy good food and the love our families, even if it is at a distance.

Duchess Potatoes

  • 2 pounds potatoes, peeled and cut into chunks
  • Salt
  • 1/4 cup heavy cream
  • 5 tablespoons unsalted butter, divided
  • 1/4 teaspoon nutmeg
  • 1/2 teaspoon black pepper
  • 3 egg yolks

1 Boil the potatoes: Place potatoes in a medium to large pot (3 qt) and cover with a couple inches of cold water. Add a couple teaspoons of salt to the water. Bring to a simmer and cook until the potatoes are tender (the tines of a fork easily pierce), about 20-25 minutes.

2 Melt butter, preheat oven: While the potatoes are boiling, melt 2 tablespoons of butter and set aside. You will use this butter to coat the potatoes right before they go in the oven. Preheat the oven to 425°.

3 Drain potatoes and let them release steam: When the potatoes are cooked, drain in a colander and put the potatoes back in the pot set over low heat. Allow them to release steam for a minute or so.

4 Using a ricer, run the potatoes in batches through the device into a large bowl. Add 3 tablespoons of butter and mash the potatoes until the butter has been incorporated. Add the nutmeg, black pepper, heavy cream and continue gently stirring the potatoes.

Once everything is incorporated, add salt to taste and the egg yolks.

Continue to mix until the mixture is smooth. Do not over-mix or your potatoes will end up with a gluey consistency.

5 Pipe onto a baking sheet, brush with melted butter: Using a piping bag with a large star point, pipe the potatoes onto a cookie sheet. Alternatively, you can just fill a casserole dish with the mashed potatoes, and use a fork to create lots of peaks on the surface.

The swirled edges from the star-point piping bag forms or the peaks of mashed potatoes in a casserole dish will brown nicely in the oven. The browned parts taste great, so you want to maximize them.

Whether you make piped portions or a casserole, paint the potatoes with the melted butter.

6 Bake: Bake in the 425°F oven until nicely browned, about 20 minutes.

Printable Recipe

Cranberry Orange Muffins

November 22nd, 2020

I am sending all of you my best wishes for a safe and secure Thanksgiving. We will have a small Thanksgiving with just six of us. All of us have been very careful. I made these Cranberry Orange Muffins for breakfast to enjoy, either between the two of us or shared with our limited family members. They freeze well.

There is lots of orange zest, orange juice and a small hit of citrus flavoring in the batter along with frozen cranberries that burst in the oven and lend their tart essence to the mix.

You can find the recipe here. Let the holidays begin. It has been a tough year. Let us hope for a better New Year.

PF Chang’s Lettuce Wraps

September 23rd, 2020

We have foregone visiting many restaurants during this pandemic. The exceptions have been restaurants that have outside seating. But that doesn’t mean we can’t enjoy restaurant meals at home. There are many copycat recipes on the internet. PF Chang’s lettuce wraps are among them. I combined several different recipes to come up with one that suited my tastes.

This adaptation has a hit of heat to it from the chili-garlic paste. It has crunch from the water chestnuts and flavors of the orient from hoison sauce, soy sauce, rice vinegar, sesame oil, ginger and garlic.

The summer has passed quickly. Many decisions were made with caution in mind. We decided to cancel the family 4th of July celebration. Having 14 people crowded together in our cottage did not seem wise. But when Labor Day rolled around we reconsidered. The family had been careful with contacts and we spent much of our time outside. Meals were simplified so we did not have to spend as much time shoulder to shoulder cooking. But we still managed to have our annual blind wine tasting. Thank you Dave Anderson for the fine selection of Grenache wines.

Welcome to Fall with a toast to good health and a future free of dread.

PF Chang’s Lettuce Wraps

  • 1 tablespoon olive oil
  • 1 pound ground chicken
  • 2 cloves garlic, minced
  • 1 tablespoon minced fresh ginger
  • 1 small onion, diced
  • 1/4 cup hoisin sauce
  • 2 tablespoons soy sauce
  • 1 teaspoon toasted sesame oil
  • 1 tablespoon rice wine vinegar
  • 1 tablespoon chili-garlic paste or sambal oelek (less if you don’t like heat)
  • 1 (8-ounce) can water chestnuts, drained and finely chopped
  • 3 green onions, thinly chopped
  • 1 head of Bibb or butter lettuce

Heat the olive oil in a skillet over medium high heat. Add the ground chicken and cook until chicken is browned crumbling as you go.

Add the onion and cook until onion begins to wilt. Add the garlic and ginger. Stir and cook for a few minutes more.

While chicken is browning combine the hoisin sauce, soy sauce, sesame oil, rice wine vinegar and the chili-garlic paste. Add this mixture to chicken mixture in the skillet. Cook for 5 minutes or so to combine flavors.

Add the water chestnuts and cook for a minute more.

Serve in lettuce leaves with the chopped green onions. ( I added a few diced red peppers for color).

Printable Recipe

© Penny Klett, Lake Lure Cottage Kitchen. All rights reserved.